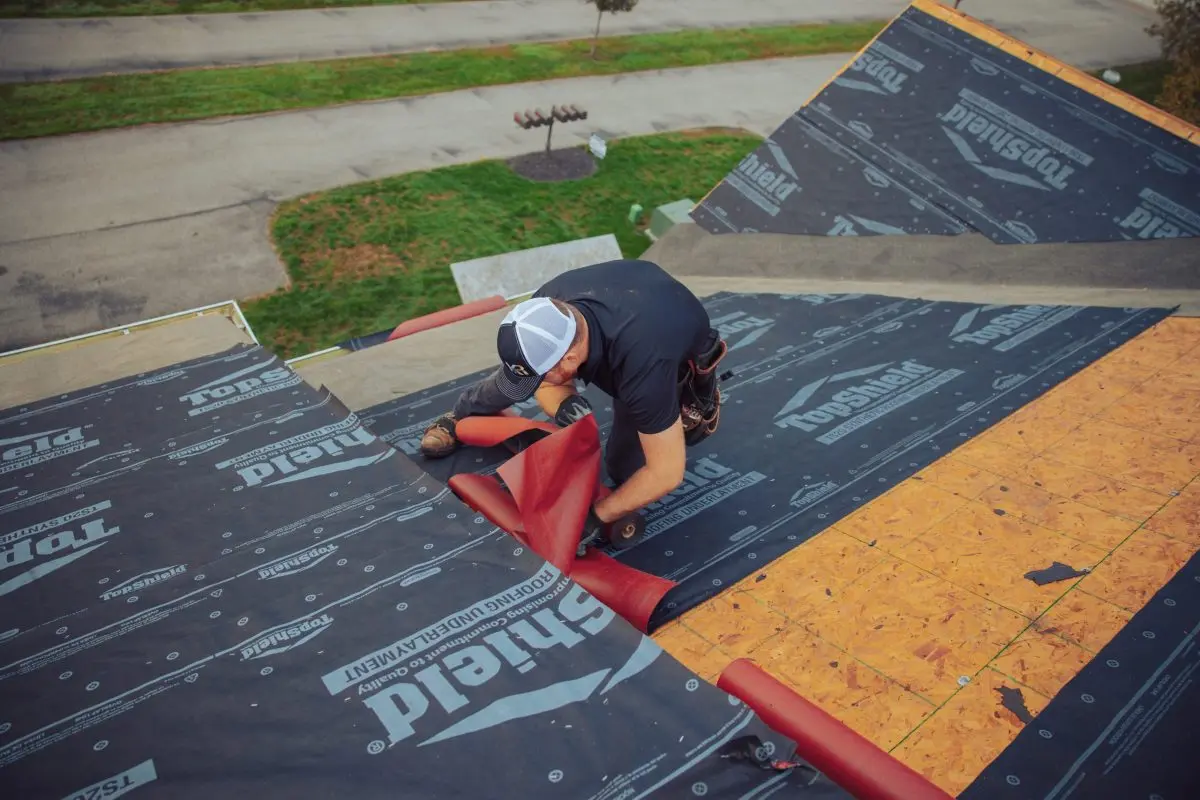
Why Your Roof Needs Ice and Water Shield in 5 Key Areas
Most homeowners know a new roof involves shingles, underlayment, and flashing. What many do not realize is that the product doing the most critical waterproofing work in the highest-risk zones of the roof is something they have never heard of until there is a problem. Ice and water shield is a self-adhering, rubberized membrane that protects the areas most vulnerable to water infiltration when shingles and standard underlayment are not enough. If you want to understand how the different layers of a properly built roof system work together, ice and water shield is the layer that earns its cost when conditions turn severe.
Here is what you will learn in this post:
- What ice and water shield is and how it differs from standard underlayment
- The 5 specific areas of a roof where it is required or strongly recommended
- Why Ohio winters make this product especially important for homeowners in this region
- What happens when it is left out or installed incorrectly
- How to verify it was used when evaluating a roofing estimate or completed project
- What building code requires versus what best practice recommends
What Makes Ice and Water Shield Different From Standard Underlayment

Before getting into where ice and water shield needs to go, it is worth understanding what sets it apart from the standard underlayment it works alongside. Standard roofing underlayment, whether traditional felt or modern synthetic, is a water-resistant layer that protects the roof deck during installation and provides a secondary barrier under the shingles. It is water-resistant but not waterproof, and it relies on the shingles above it to do most of the waterproofing work.
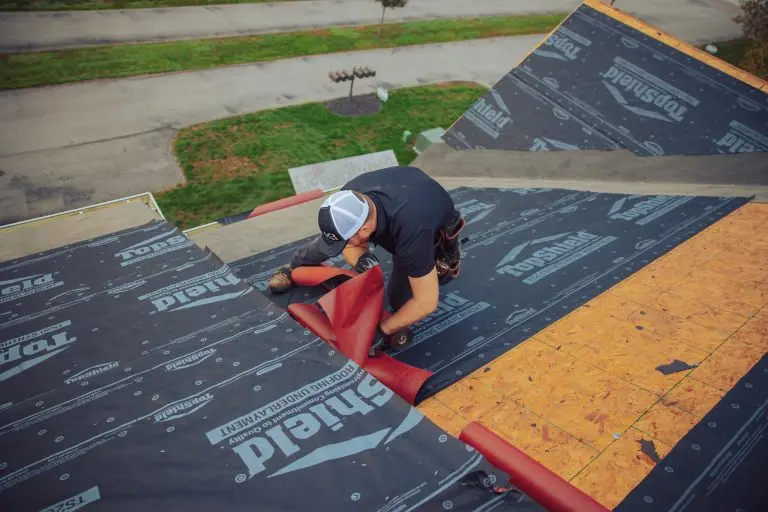
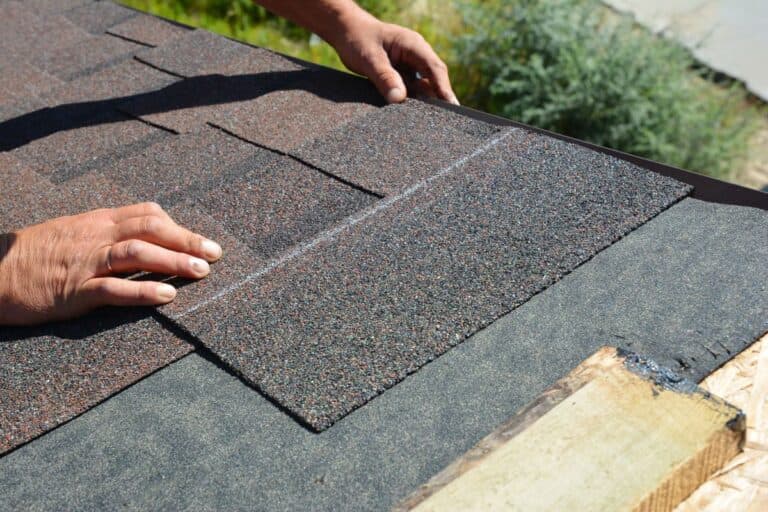
Ice and water shield is a different product class entirely. It is a self-adhering rubberized asphalt membrane that bonds directly to the roof deck and seals around fasteners that penetrate it, creating a truly waterproof layer rather than a water-resistant one. That self-sealing property is what makes it so valuable in the specific areas where shingles are most likely to allow water infiltration: at the eaves where ice dams force meltwater under shingles, in valleys where water volume and velocity are highest, and at any transition where the roof meets a vertical surface. For homeowners in Columbiana, OH and surrounding areas, where winter temperatures and freeze-thaw cycles create the ideal conditions for ice dam formation, ice and water shield is not an upgrade. It is an essential component of a properly built roofing system. Here is why it matters so much:
- Self-sealing around fasteners prevents hidden infiltration: When a roofing nail penetrates standard underlayment, it creates a small hole that water can exploit under pressure. Ice and water shield’s rubberized membrane compresses around the fastener and seals the penetration, eliminating that vulnerability entirely.
- Direct adhesion to the deck prevents wind-driven water infiltration: Standard underlayment is mechanically fastened and water can work beneath it under high wind pressure. Ice and water shield bonds directly to the substrate, creating a barrier that wind-driven rain and meltwater cannot penetrate from below.
- Ice dam protection requires full waterproofing, not water resistance: Ice dam water backs up under shingles with enough pressure to defeat standard underlayment. Only a truly waterproof membrane applied across the ice dam zone provides reliable protection against interior water damage.
- Code compliance in Ohio requires it at the eaves: Ohio residential building code, following the International Residential Code, requires ice and water shield at the eaves extending a minimum of 24 inches past the interior wall line. A contractor who skips this step is not just cutting corners, they are delivering a non-compliant installation.
- Warranty protection may depend on it: Several major shingle manufacturers require ice and water shield installation in specific areas as a condition of their enhanced warranty programs. Missing it can void coverage that the homeowner was counting on.
5 Key Areas Where Your Roof Needs Ice and Water Shield
Ice and water shield is not applied across the full roof deck on a standard residential installation. Standard synthetic underlayment handles the broad field area of the roof, while ice and water shield is reserved for the specific zones where water infiltration risk is highest and the consequences of failure are most severe. These five areas represent both the code-required minimums and the best practice recommendations for a fully protected roof.
1. Eaves: The First Line of Defense Against Ice Dams
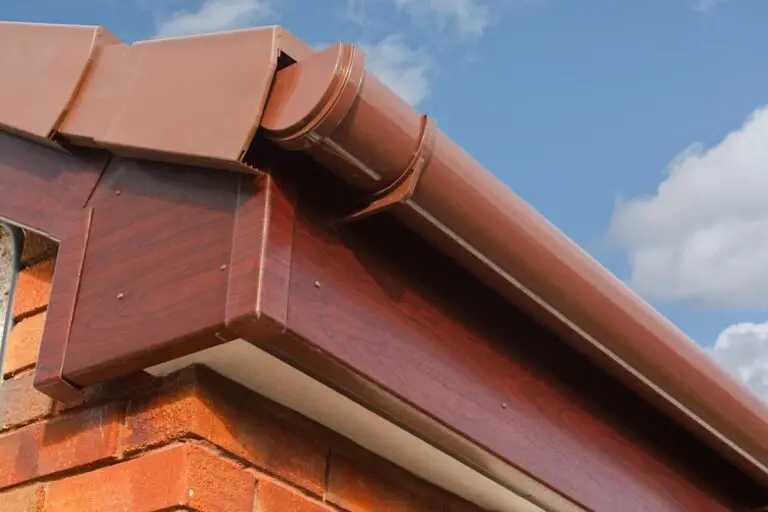
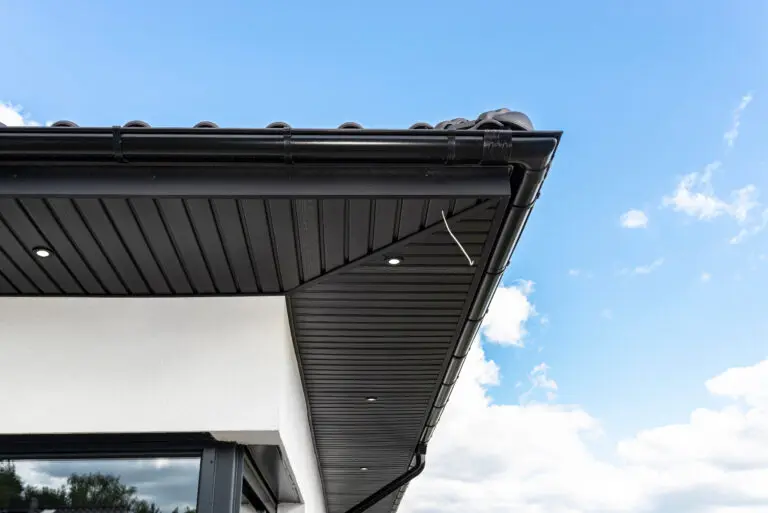
The eave is the lowest edge of the roof, where the shingles terminate and water flows into the gutter. It is also the most common location for ice dam formation, which occurs when heat escaping through a warm attic melts snow near the ridge, and that meltwater flows down to the cold eave where it refreezes. As the ice accumulates, it creates a dam that backs water up under the shingles and into the home.
Ice and water shield applied at the eave creates a waterproof zone that protects the roof deck even when backed-up meltwater is sitting against the shingles for extended periods. This is the application that building codes address most specifically.
- Ohio’s version of the International Residential Code requires ice and water shield to extend from the eave edge to a point at least 24 inches past the interior wall line, measured horizontally
- On homes with wide overhangs, this typically means two or more courses of ice and water shield before the field underlayment begins
- In Columbiana, OH and surrounding areas, where sustained cold temperatures create persistent ice dam conditions, extending the eave coverage beyond the code minimum to 36 or 48 inches is a reasonable best practice upgrade
2. Valleys: Where Water Volume and Velocity Are Highest
Roof valleys are the channels formed where two roof planes intersect and water from both slopes converges. The volume of water flowing through a valley during a heavy rain event is significantly higher than what any single roof plane handles, and that combination of volume and velocity puts more stress on the waterproofing layers in the valley than anywhere else on the roof.
Standard underlayment in a valley is adequate under normal conditions but becomes vulnerable during severe rain events, particularly where debris accumulation slows drainage and increases the depth of water flowing through the channel. Ice and water shield in the valley provides the true waterproofing layer the zone demands.
- Valley ice and water shield is typically installed before the field underlayment, with the membrane centered in the valley and running the full length from ridge to eave
- The width of valley coverage varies by manufacturer recommendation and slope, with most applications specifying a minimum of 18 to 36 inches centered on the valley line
- Open metal valleys with ice and water shield beneath the flashing provide the most reliable long-term water management in high-volume drainage situations
3. Rakes: Protecting the Windward Edge of the Roof
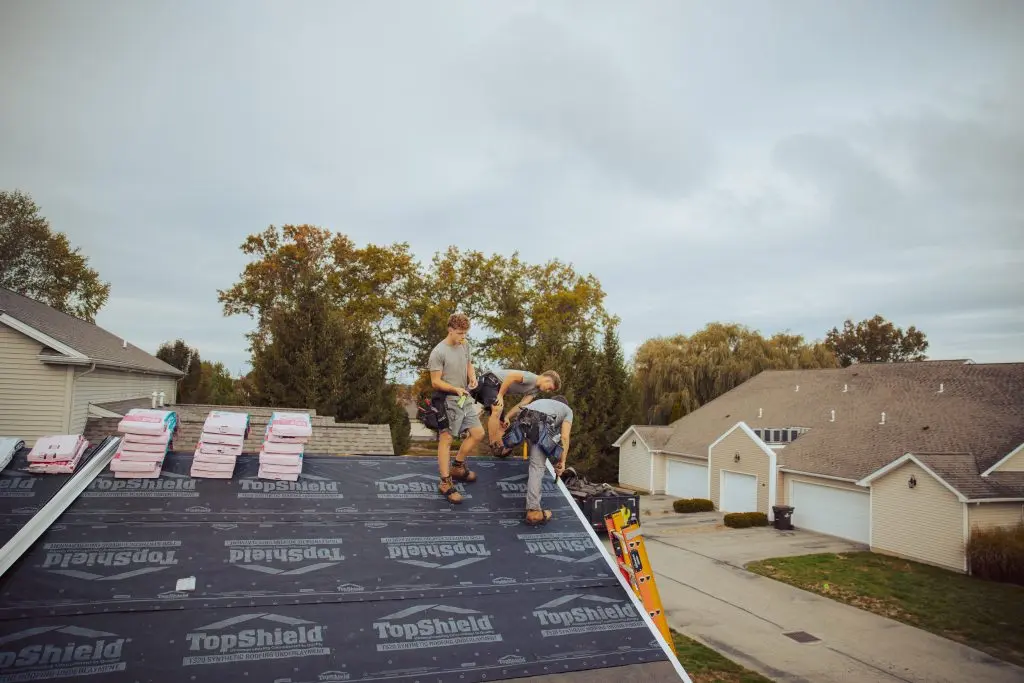
The rake is the sloped edge of the roof along a gable end. While it does not face the same ice dam risk as the eave, it is the edge most exposed to wind-driven rain that can force water under shingles in a horizontal direction rather than the vertical direction the shingle overlap is designed to manage.
In severe wind events, rain can be driven horizontally across the rake edge with enough force to infiltrate beneath shingle courses that would otherwise be watertight. Ice and water shield applied along the rake provides a backup waterproofing layer for exactly these conditions.
- Rake coverage with ice and water shield is a best practice recommendation rather than a code requirement in most jurisdictions, but it is a worthwhile upgrade on any home that experiences frequent high-wind events
- The product is typically applied as a single course along the rake before the field underlayment, running from the eave to the ridge
- Homes on exposed lots or in areas with frequent wind-driven rain benefit most from rake coverage, which adds minimal cost to the total project
4. Around Skylights and Roof Penetrations
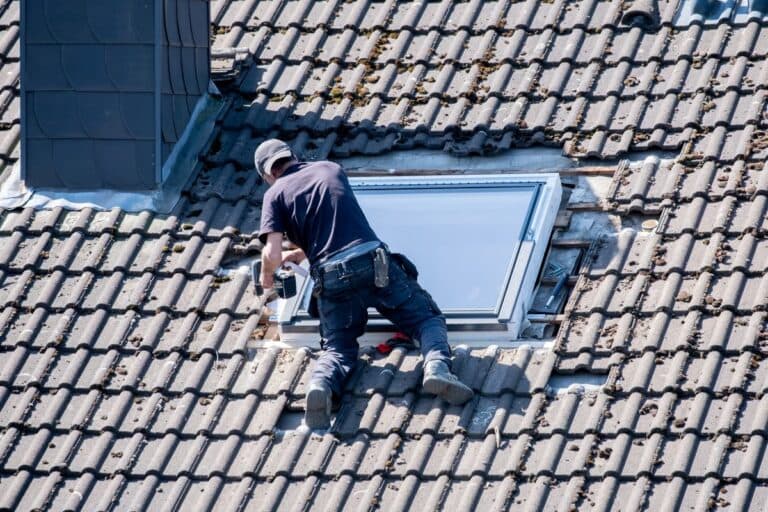
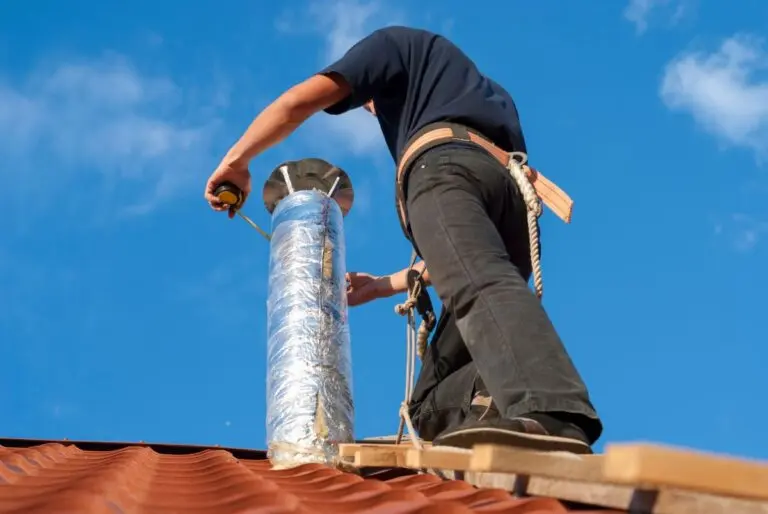
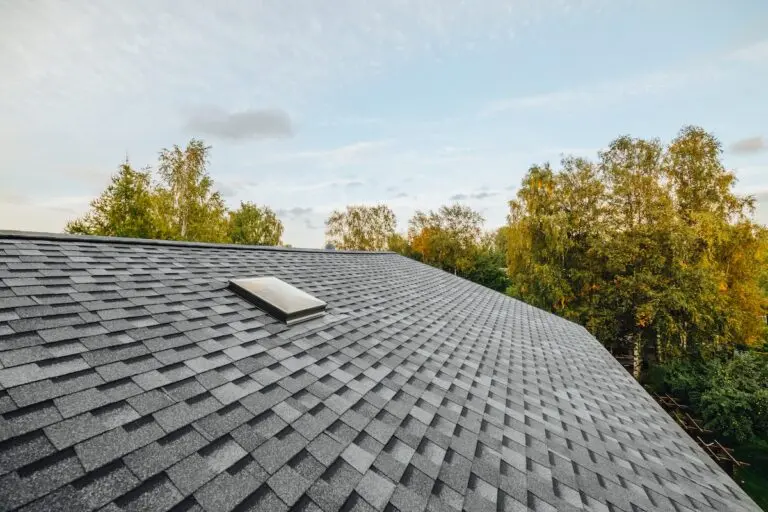
Every penetration through the roof deck is a potential water entry point, and the area around skylights, pipe boots, chimneys, and other penetrations requires the most reliable waterproofing available. Ice and water shield applied around penetrations creates a self-sealing base that accommodates the flashing system above it and provides a backup waterproofing layer if the flashing ever develops a minor gap or sealant failure.
Skylights are particularly important candidates for ice and water shield treatment because their large perimeter creates more potential failure points than a simple pipe penetration, and the interior damage from a skylight leak can be significant before it is noticed.
- Ice and water shield is typically applied around the full perimeter of the rough opening before the skylight unit is set and flashed, creating a waterproof base for the entire installation
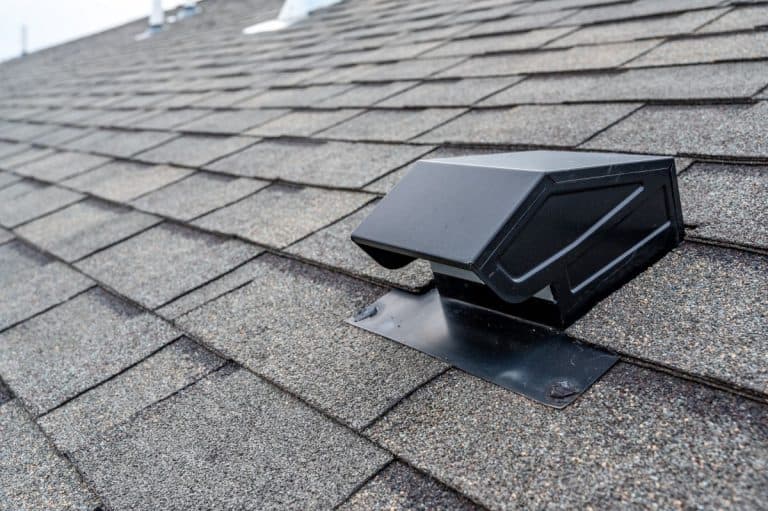
- For pipe penetrations, a patch of ice and water shield centered on the penetration location provides a self-sealing layer that works in concert with the pipe boot flashing above it
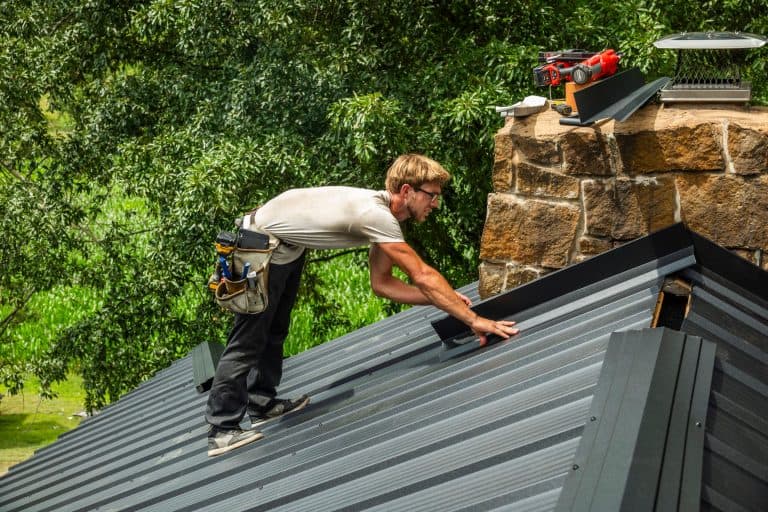
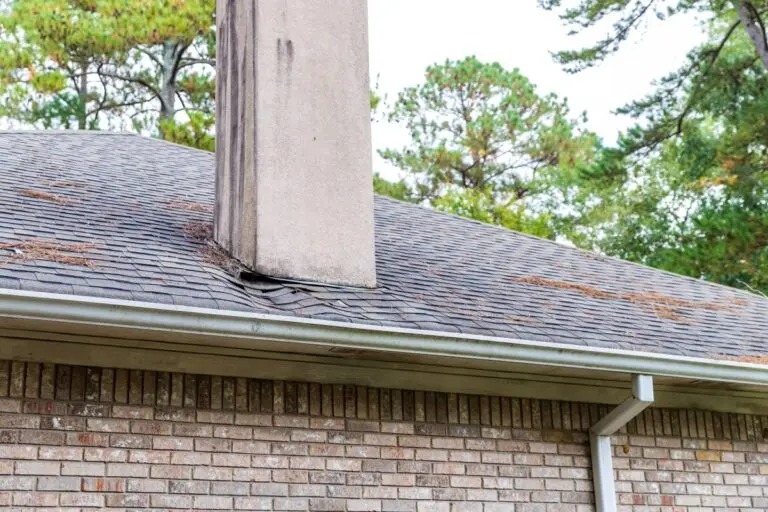
- Chimney bases benefit from ice and water shield applied in the saddle or cricket area behind the chimney, where water and debris accumulate and the flashing system is under the most sustained moisture stress
5. At Wall Transitions and Step Flashing Locations
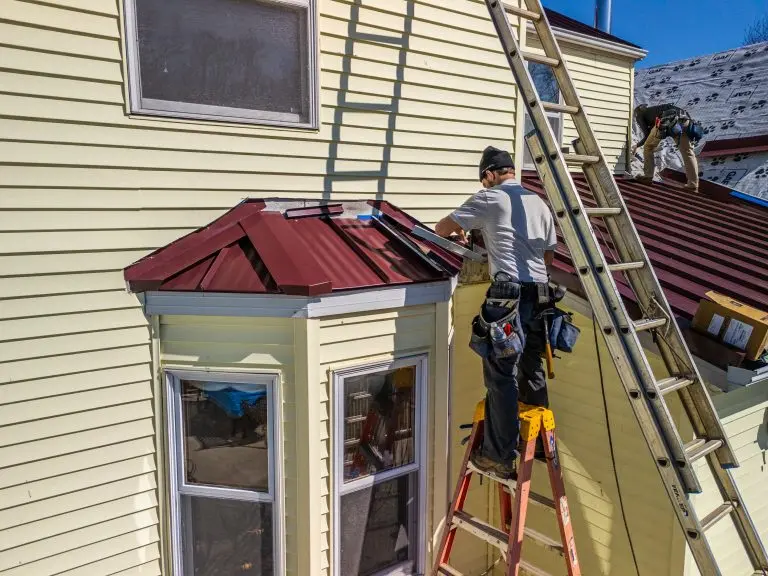
Anywhere the roof plane meets a vertical wall surface, whether at a dormer, a second-story wall, or an addition where the roof continues past the main structure, the transition between the horizontal roof and the vertical wall is a high-risk zone for water infiltration. Step flashing manages this transition, but ice and water shield applied beneath the step flashing provides a continuous waterproof layer that backs up the mechanical flashing system.
In Columbiana, OH and surrounding areas, where ice accumulation in winter can stress every transition on the roof, the combination of properly installed step flashing over ice and water shield is the most reliable approach to keeping these challenging zones watertight.
- Ice and water shield at wall transitions is applied horizontally along the roof surface before the step flashing is installed, with the upper edge running up the wall face behind the siding or housewrap
- The product’s self-adhesive lower face bonds to the roof deck and its rubberized composition accommodates minor movement at the transition without cracking or separating
- This application is particularly important on dormers, where the intersection of multiple roof planes and wall faces creates several high-risk transition points in a small area
What Happens When Ice and Water Shield Is Left Out or Installed Incorrectly
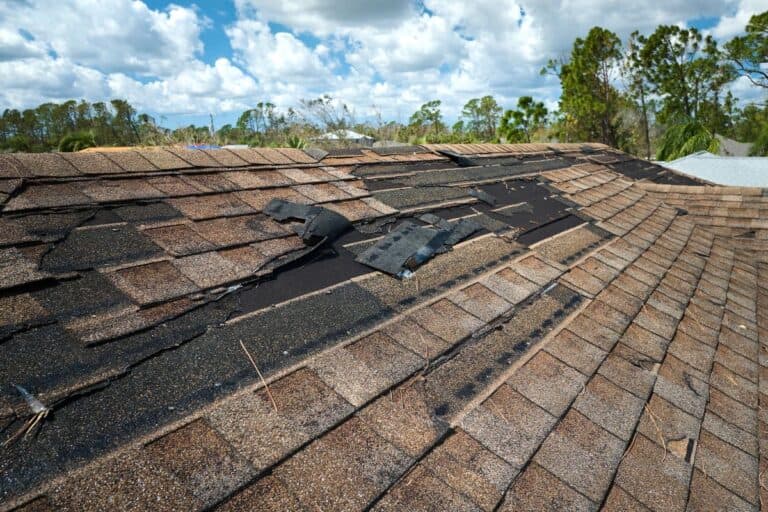
The consequences of missing or improperly installed ice and water shield are predictable in their general form even when the specific timing is not. Water damage that originates at the eave, in a valley, or at a transition point will eventually find its way to the interior, and the path it takes through the roof assembly before it becomes visible inside the home means the damage is typically more extensive than it first appears.
Ice dam water infiltration at the eave produces ceiling staining near exterior walls and above windows, saturated insulation in the attic floor adjacent to the eave, and in severe cases, water running down interior wall surfaces and pooling on floors in exterior rooms. The damage often appears after the ice dam has melted and the source is no longer visible, which complicates both diagnosis and insurance claims.
Valley leaks typically produce staining on ceilings in interior rooms below the valley location, and because water follows the roof framing before surfacing, the stain may appear well away from the actual infiltration point. Valley leaks frequently develop gradually, with minor staining that grows worse with each heavy rain event until the underlayment has failed completely.
Wall transition infiltration is often the most damaging type because water entering behind the siding at a wall transition has direct access to the wall cavity, where it saturates insulation and framing without producing visible signs in the living space until the damage is significant. Mold in wall cavities adjacent to roof-to-wall transitions is a common consequence of missing or failed ice and water shield at those locations.
How to Verify Ice and Water Shield Was Used on Your Roof
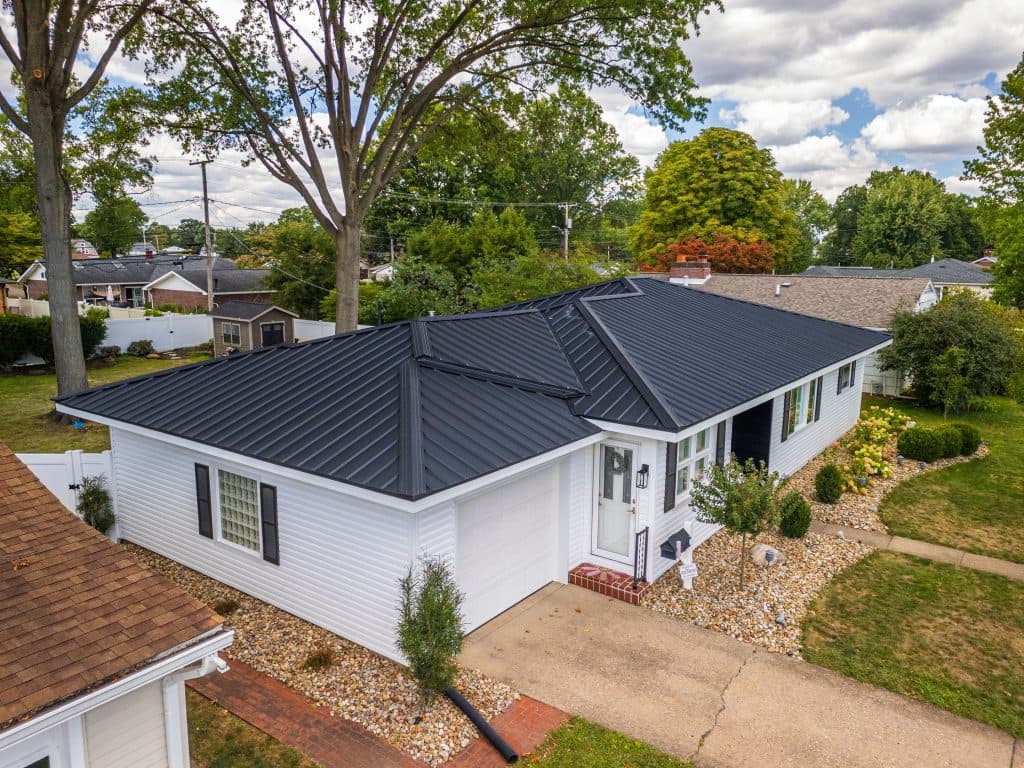
Homeowners who are evaluating a roofing estimate, comparing proposals from multiple contractors, or reviewing the work on a recently completed project can take several practical steps to verify that ice and water shield was included and applied correctly.
In a Roofing Estimate
A legitimate roofing proposal specifies ice and water shield as a line item with a quantity expressed in squares or square feet and identifies the specific product being used. An estimate that lists only “underlayment” without distinguishing between ice and water shield and standard synthetic underlayment is either combining them into a single line item or leaving ice and water shield out entirely. Ask directly which areas will receive ice and water shield and what product will be used.
During an Active Installation
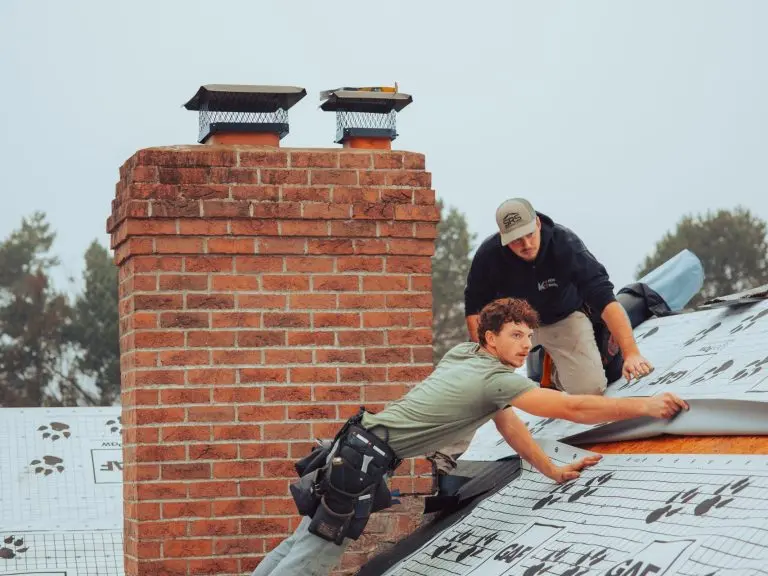
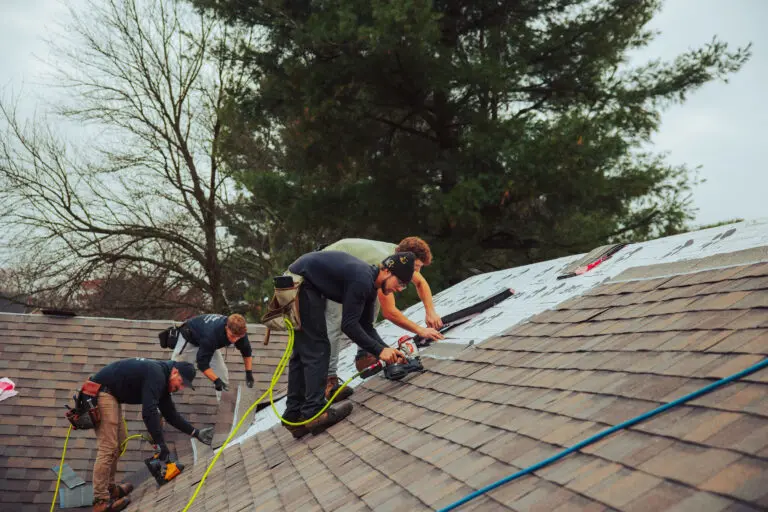
The installation sequence for ice and water shield makes it visible before the field underlayment covers it. If you have the opportunity to observe the installation on the day the underlayment is being laid, confirm that a visibly different, self-adhesive product is being applied at the eaves, in the valleys, and around penetrations before the standard underlayment covers the field area.
After Completion
Once the installation is complete, the eave edge and valley lines provide the best opportunity to confirm ice and water shield was used. Looking up under the drip edge at the eave with a flashlight often reveals the edge of the membrane if it was correctly installed to the eave edge. Photographs taken during installation by your contractor are the most reliable documentation and should be requested as part of any roofing project.
Do Not Let a Missing Layer Cost You Thousands Later
Ice and water shield is a relatively modest line item in the total cost of a roof replacement. The water damage it prevents when conditions are severe is many times its cost. The homeowners who discover it was left out of their installation always wish they had asked the question before the project was complete rather than after the first severe winter.
At Keim Quality Roofing, we include ice and water shield at all code-required and best-practice locations on every project we complete for homeowners throughout Columbiana, OH and surrounding areas. We specify the product in our written estimates, photograph its installation, and do not cut corners on the layers that are invisible after completion but essential to long-term performance. If you want to make sure your roof is built the right way from the deck up, contact us today and let Keim Quality Roofing give you the protection your home deserves.