Ice Dams on Your Roof? 7 Ways to Stop Them This Winter
That ridge of ice along your eaves looks harmless until water starts creeping under the shingles and into your ceiling. Ice dams cause thousands of dollars in damage every winter, and nearly all of it is preventable. Knowing how to prevent ice dams before the first heavy snowfall is far easier and cheaper than repairing a soaked attic and stained ceilings in February. The fixes also start inside the home, not on the roof. If you want to see how a well-built roof system resists winter damage, the steps below are the place to begin.
Here is what you will learn in this post:
- Why ice dams form and why they cause so much hidden damage
- 7 proven ways to stop ice dams before they start
- Which quick fixes are safe and which ones can make things worse
- How insulation, air sealing, and ventilation work together
- When a roofing upgrade is the right long-term solution
- What to do if an ice dam has already formed on your roof
Why Ice Dam Damage Gets So Costly After Heavy Snowfall
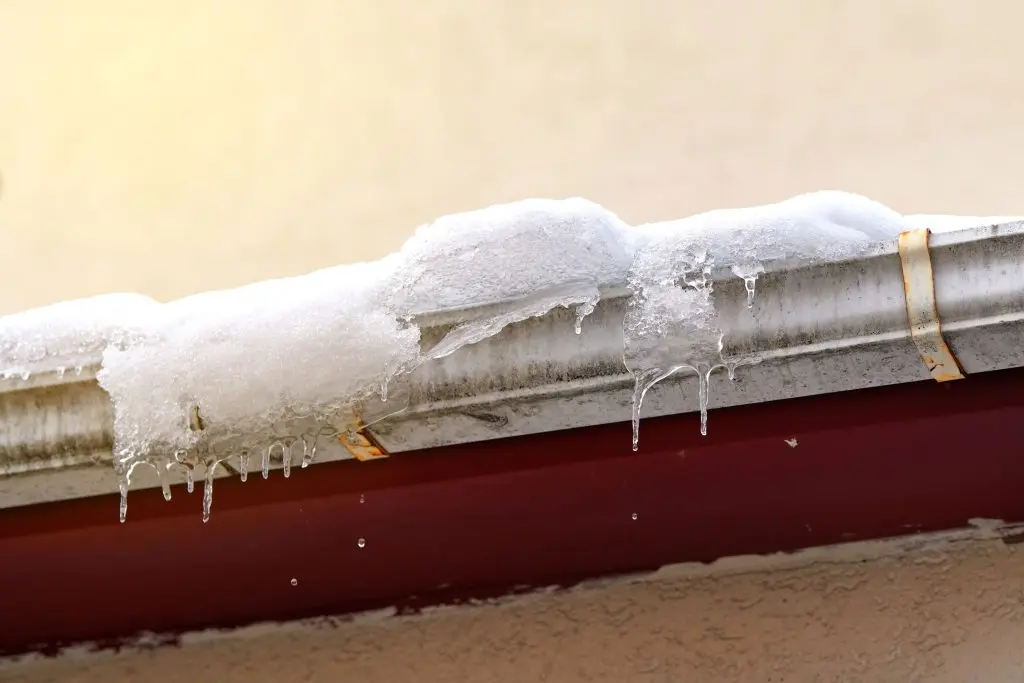
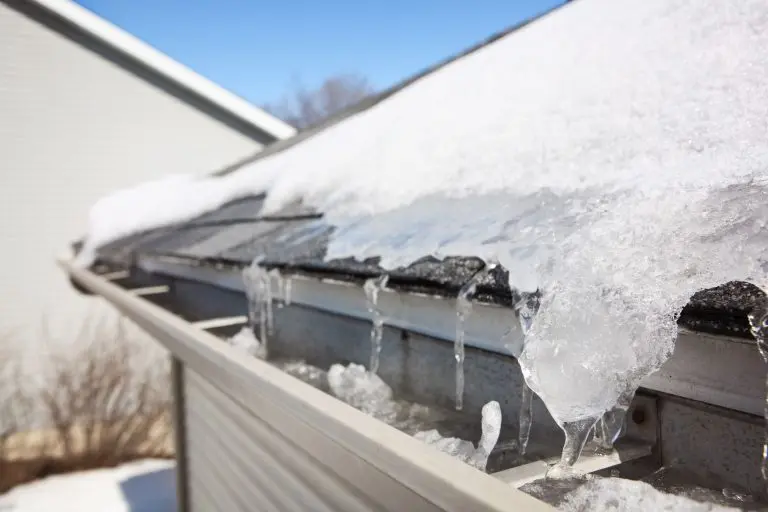
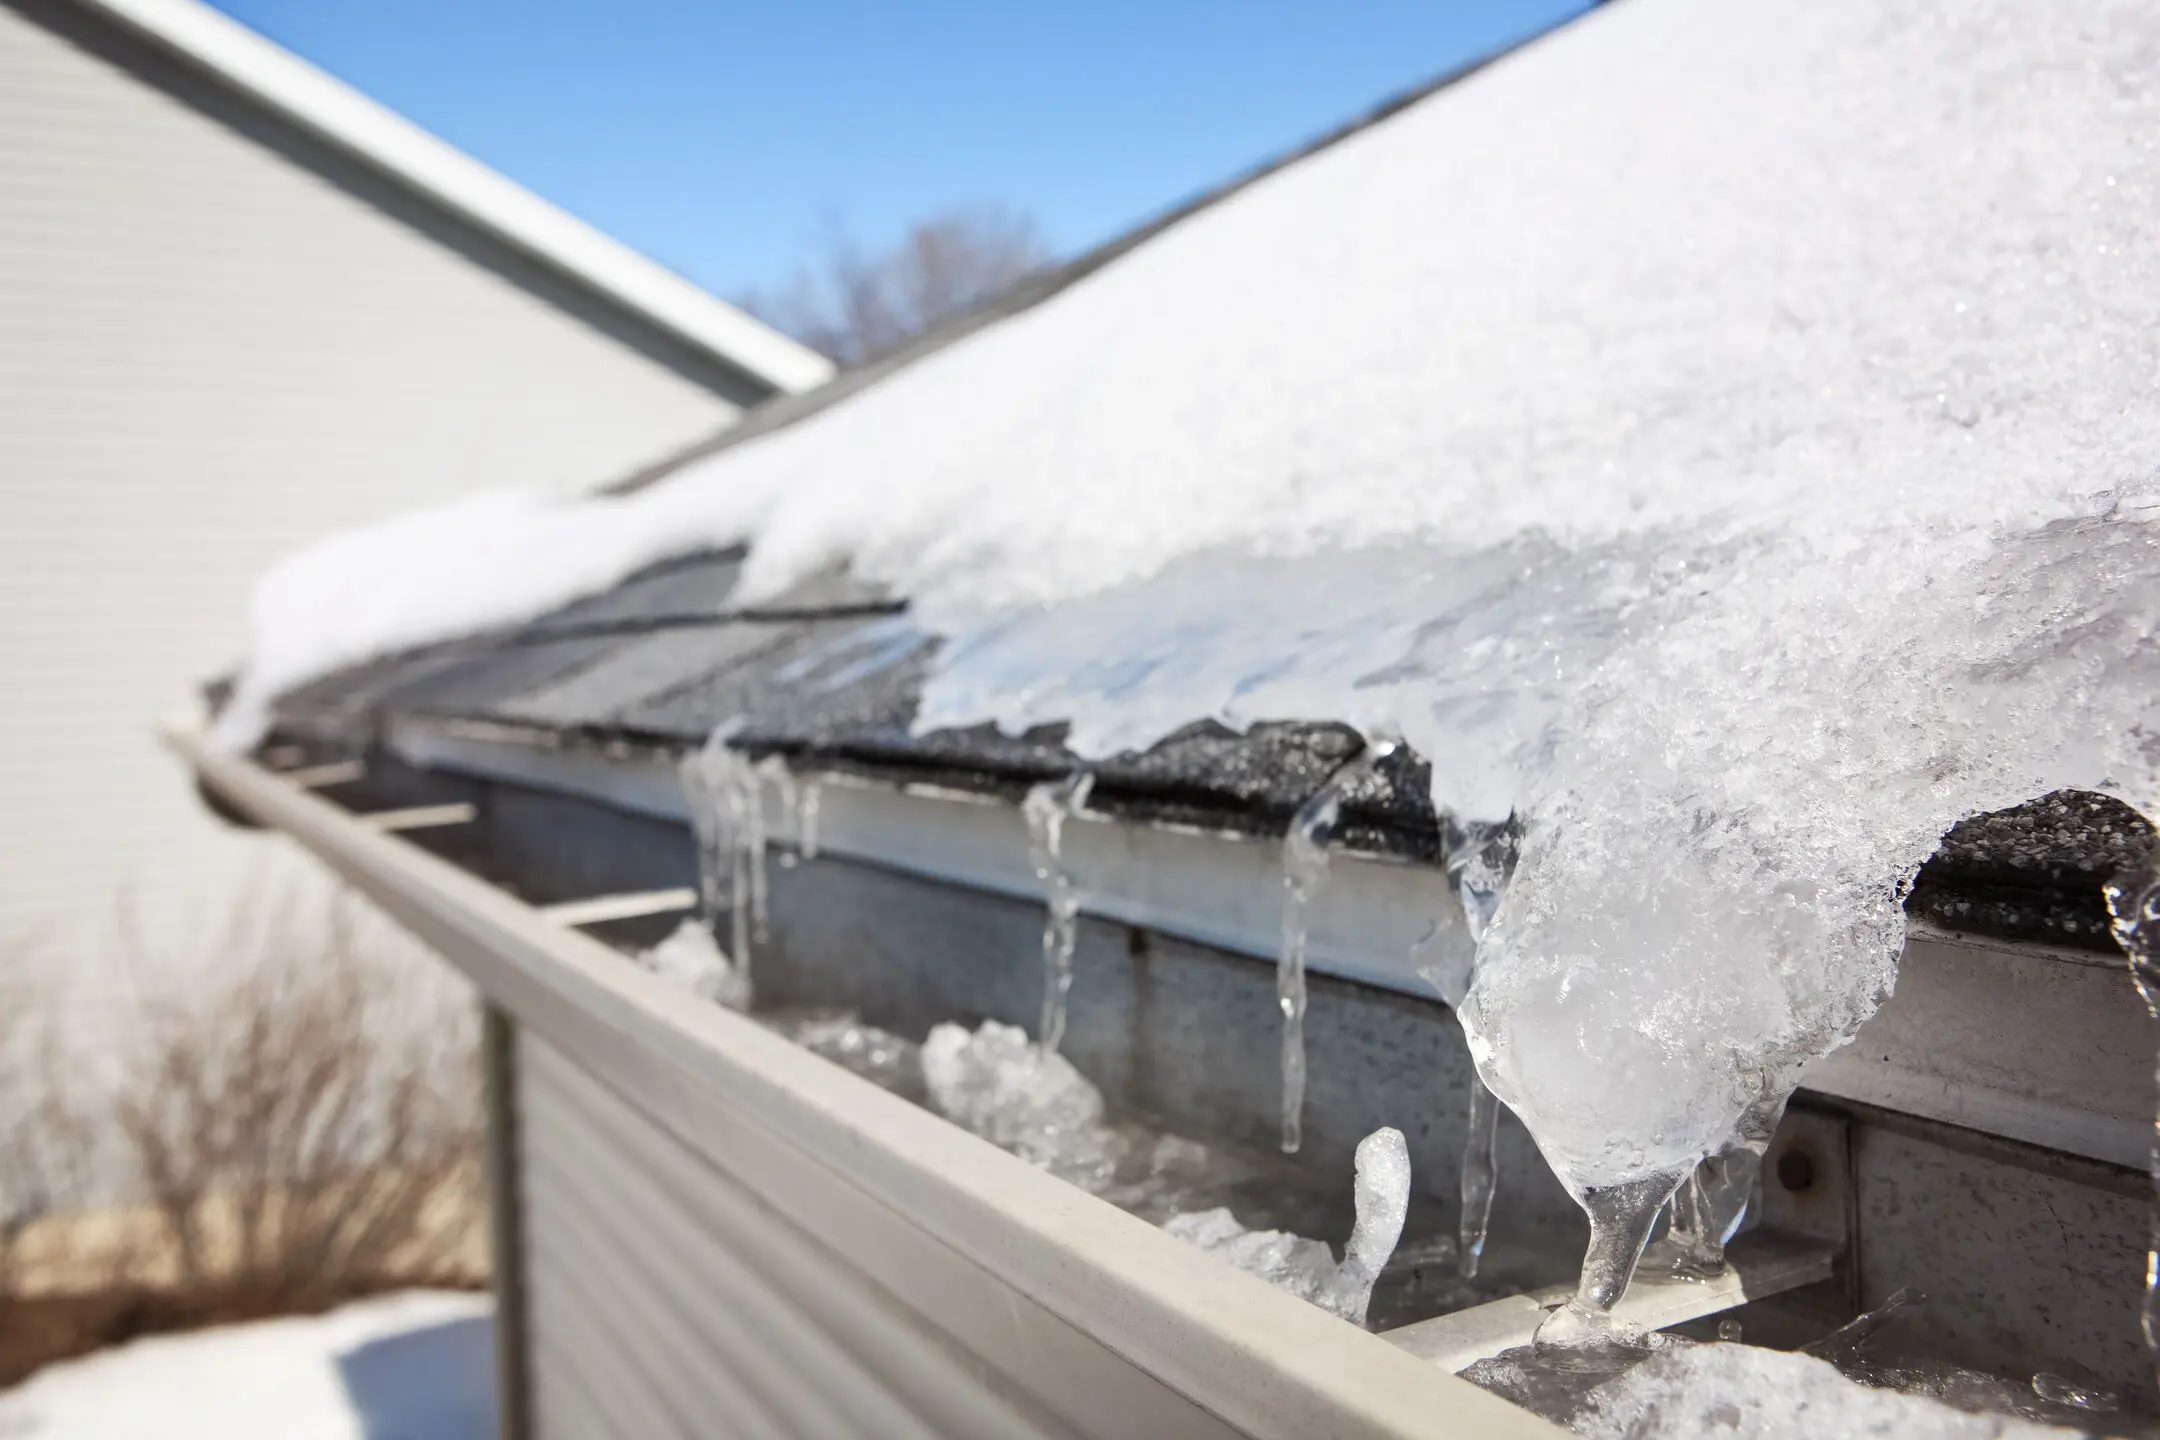
An ice dam is a ridge of ice that builds up along the lower edge of a roof and blocks melting snow from draining off. It forms when heat escaping from the home warms the upper roof deck, melts the snow above, and sends that meltwater running down to the cold eave. There it refreezes, and the ridge grows with every freeze-thaw cycle until water has nowhere to go but backward under the shingles.
For homeowners in Salem, OH and surrounding areas, the conditions are ideal. Winters bring repeated snowfall followed by sub-freezing nights and sunny, above-freezing afternoons, which is exactly the cycle that builds ice dams. Because the water enters at the roof edge and travels through the wall and ceiling cavities, the damage is often well advanced before a stain ever appears. Here is why the problem deserves attention before winter arrives:
- Water enters where you cannot see it: Meltwater forced under the shingles soaks the deck, the underlayment, and the insulation below, usually surfacing inside the home long after the damage has started.
- The weight adds structural stress: Ice and the packed snow behind it add significant load to the eaves, and heavy dams can pull gutters loose or bend them away from the fascia.
- Wet insulation stops insulating: Saturated attic insulation loses much of its thermal value, which sends more heat into the attic and makes the next ice dam worse.
- Mold can follow quickly: Moisture trapped in an attic or wall cavity creates the conditions for mold growth, which is costly to remediate and often excluded from routine coverage.
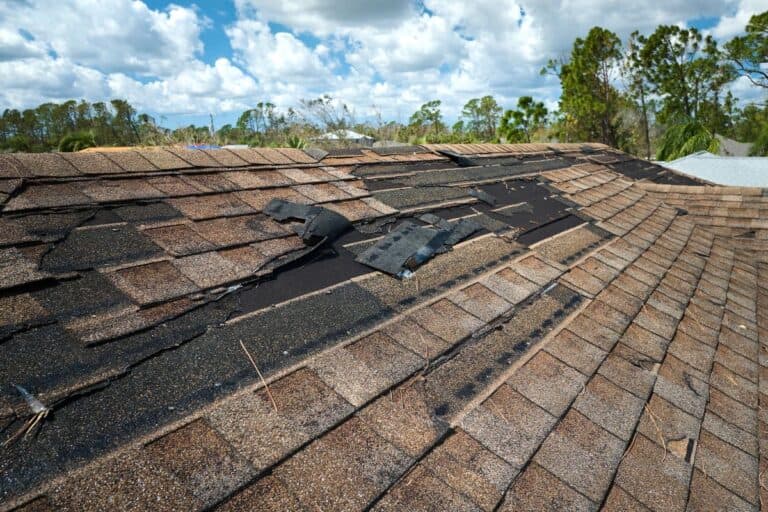
- Repeated cycles shorten roof life: Shingles that stay saturated and frozen through the winter wear out earlier than those that shed water normally.
7 Ways to Prevent Ice Dams Before They Form
Ice dams are a heat problem more than a snow problem. Every solution below works by keeping the roof deck cold and evenly cooled from ridge to eave, so snow melts only when the weather melts it. The most effective plans combine several of these steps rather than relying on one.
1. Seal Air Leaks in the Attic Floor
The biggest source of attic heat is warm indoor air leaking through gaps in the ceiling. Recessed lights, attic hatches, plumbing and wiring penetrations, and the tops of interior walls all let conditioned air rise into the attic. Sealing those gaps is usually the highest-value step because it cuts the heat feeding the problem at its source.
- Seal gaps around wires, pipes, and ducts with caulk or expanding foam rated for the gap size
- Weatherstrip and insulate the attic hatch so it seals tightly when closed
- Use airtight covers over recessed lights where they are rated for contact with insulation
2. Add Attic Insulation to Reduce Heat Loss
Insulation slows the heat that does get through the ceiling. Many older Ohio homes have far less attic insulation than current recommendations, and thin or uneven coverage creates warm spots on the roof deck that start the melt cycle.
Recommendations for cold climates like Ohio’s commonly fall in the R-49 to R-60 range for attics. Adding insulation after air sealing is more effective than adding it before, because insulation slows heat but does not stop air movement on its own.
- Check that insulation is evenly distributed across the full attic floor, including the edges near the eaves
- Avoid compressing insulation, since squeezing it reduces its R-value
- Keep insulation from blocking soffit vents, which leads directly to the next step
3. Balance Ventilation to Prevent Ice Buildup at the Eaves
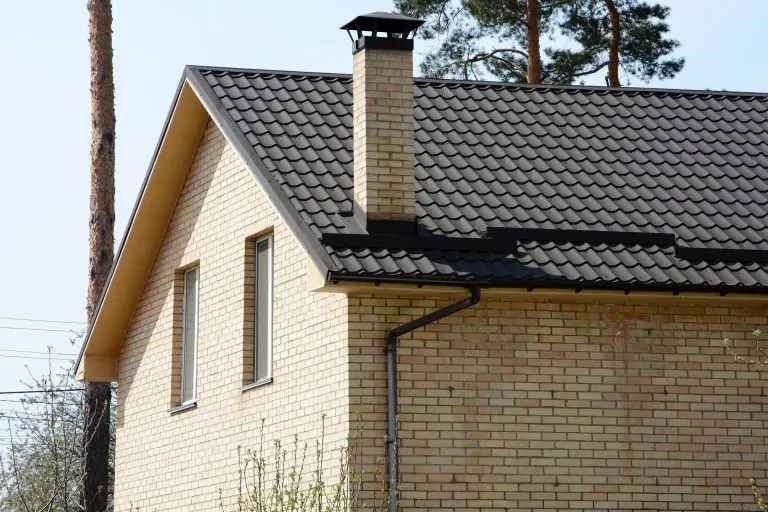
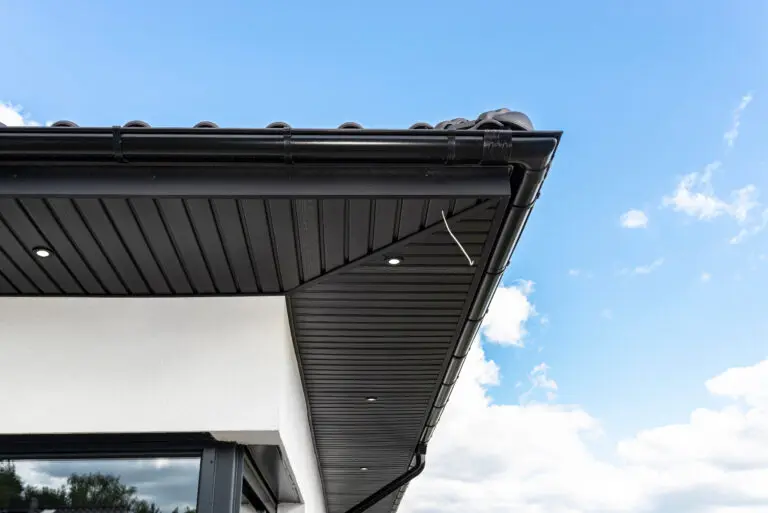
A cold roof deck depends on a steady flow of outside air through the attic. Air enters at the soffit vents, rises along the underside of the roof, and exits at the ridge. When intake is blocked or exhaust is missing, the attic holds heat, the deck warms unevenly, and ice dams form at the eaves.
In Salem, OH and surrounding areas, many ventilation problems trace back to insulation pushed against the eaves or soffit vents painted shut. Baffles installed in each rafter bay keep insulation back and preserve a clear channel for air.
- Install rafter baffles at the eaves to hold back insulation and keep airflow open
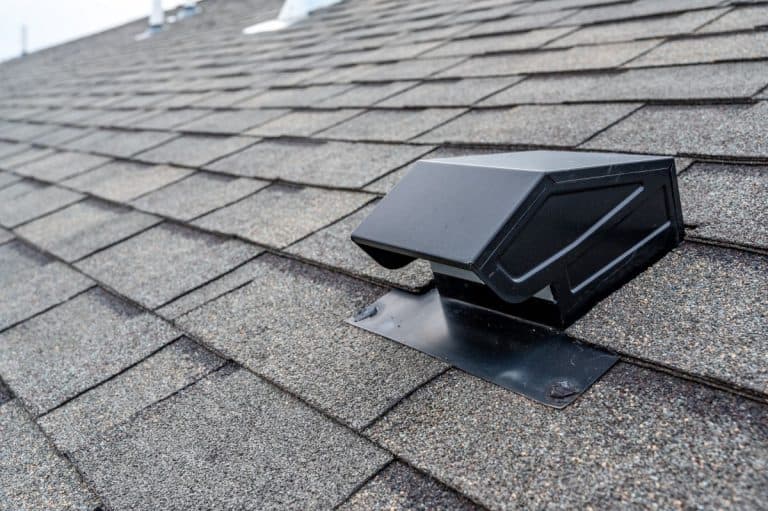
- Confirm that ridge vents are open and not covered by shingles from a past reroof
- Aim for balanced intake and exhaust, since too much of either reduces overall airflow
4. Route Exhaust Fans and Dryer Vents Outside
Bathroom fans, kitchen hoods, and dryer vents that end in the attic dump warm, moist air exactly where you do not want it. That moisture condenses on the cold deck and adds heat to the very area you are trying to keep cold.
Every exhaust duct should run through the roof or wall to the exterior, with insulated duct material and a proper hood. This is a small repair that often makes a large difference.
- Replace any flexible duct that has sagged or separated with a rigid or insulated run
- Make sure each vent terminates outdoors with a damper that closes when the fan is off
- Check ducts in late fall, before the heating season puts them under load
5. Install Ice and Water Shield Where Ice Dams Form
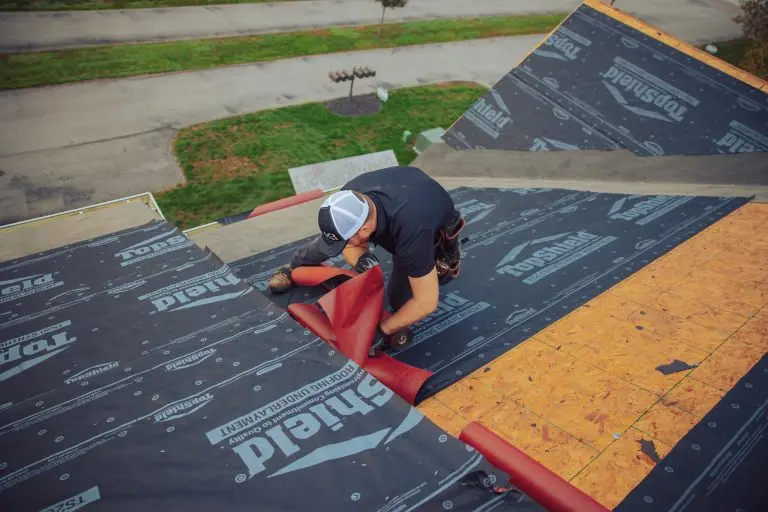
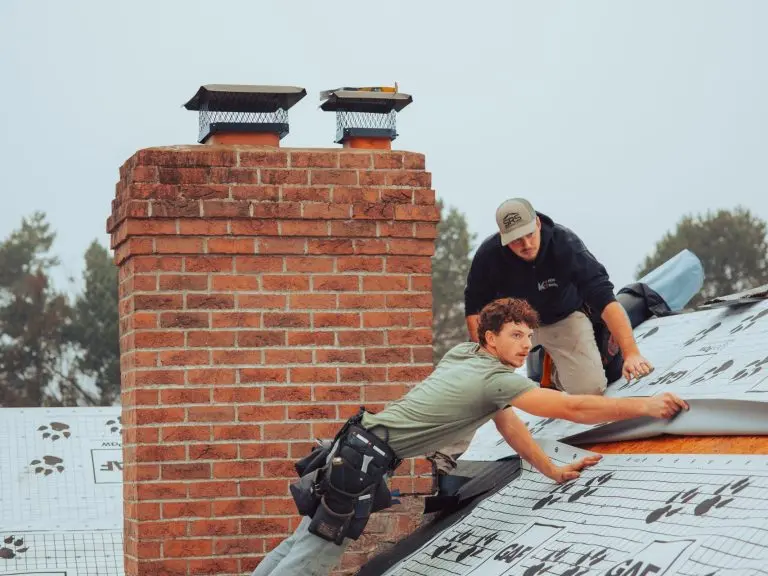
When the underlying causes cannot be fully corrected, or when a roof is due for replacement, a self-adhering waterproof membrane at the eaves is the best protection against water that backs up under shingles. Unlike standard underlayment, it seals around fasteners and holds up when water is sitting against the roof edge.
Residential code in Ohio calls for the membrane to extend at least 24 inches past the interior wall line. On homes with wide overhangs, extending coverage further up the roof is a sensible upgrade.
- Apply the membrane before the field underlayment so it sits directly on the deck at the eave
- Extend it into valleys, where water volume is highest
- Treat it as a backup to insulation and ventilation, not a replacement for them
6. Keep Gutters and Downspouts Clear
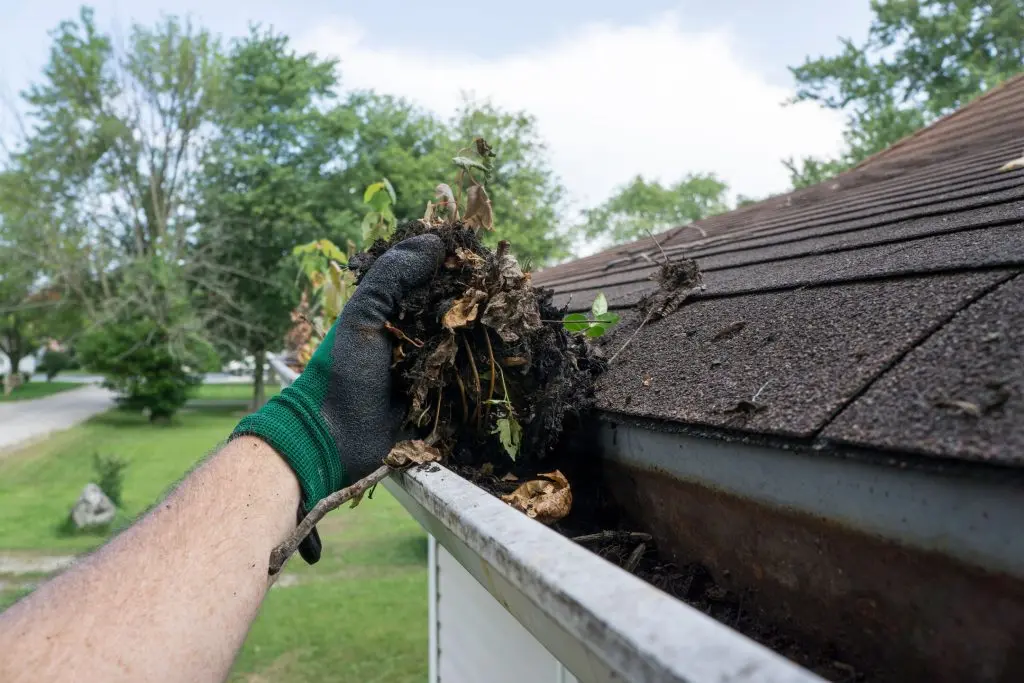
Gutters clogged with leaves and debris freeze solid, and a frozen gutter gives meltwater nowhere to go. Clearing them in late fall keeps the drainage path open so water leaves the roof edge instead of backing up behind a frozen mass.
Gutters do not cause ice dams on their own, but a blocked gutter makes a dam heavier and more damaging. Inspect downspouts, too, since a frozen outlet at the bottom can back water up the entire run.
- Clean gutters after the leaves drop and before the first hard freeze
- Confirm downspouts discharge well away from the foundation
- Consider gutter guards if heavy tree cover means debris returns quickly
7. Remove Excess Snow Safely From the Ground
Clearing the first few feet of snow from the lower roof removes the fuel an ice dam needs. A roof rake with an extendable handle lets you do it from the ground, which is far safer than climbing onto a snow-covered roof.
Pull the snow down in light passes rather than scraping to bare shingles, since aggressive raking can strip granules. Stay clear of power lines and never stand beneath snow you are pulling down.
- Rake the lowest three to four feet of the roof after a heavy snowfall
- Use a plastic or foam-edged rake rather than a metal blade
- If the roof is steep, icy, or out of reach, call a professional rather than improvising
What Not to Do When Ice Dams Form
When an ice dam appears and water starts coming in, the instinct is to attack the ice. Several common reactions cause more harm than the dam itself, so it helps to know them in advance.
- Do not chip or hammer the ice: Striking an ice dam with a hammer, axe, or shovel damages shingles and can crack the ice into pieces that tear the roof surface as they fall.
- Do not use rock salt or calcium chloride on the roof: Both can corrode metal flashing and gutters, damage landscaping below, and stain surfaces without fixing the cause. Calcium chloride ice melt is often sold as a quick fix, but it only treats the symptom.
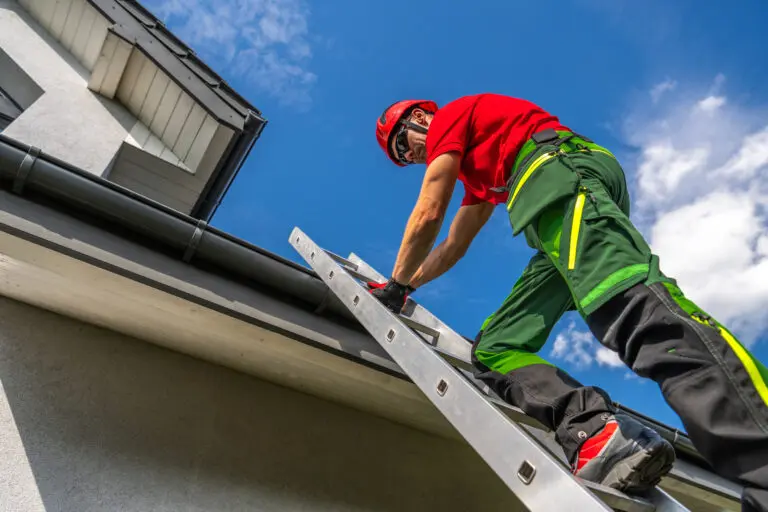
- Do not climb onto an icy roof: Falls are a serious risk, and the weight of a person on a frozen, saturated roof can damage already stressed materials.
- Do not ignore interior leaks: A stain or drip means water is already inside the roof assembly. Contain it, document it, and call a professional promptly.
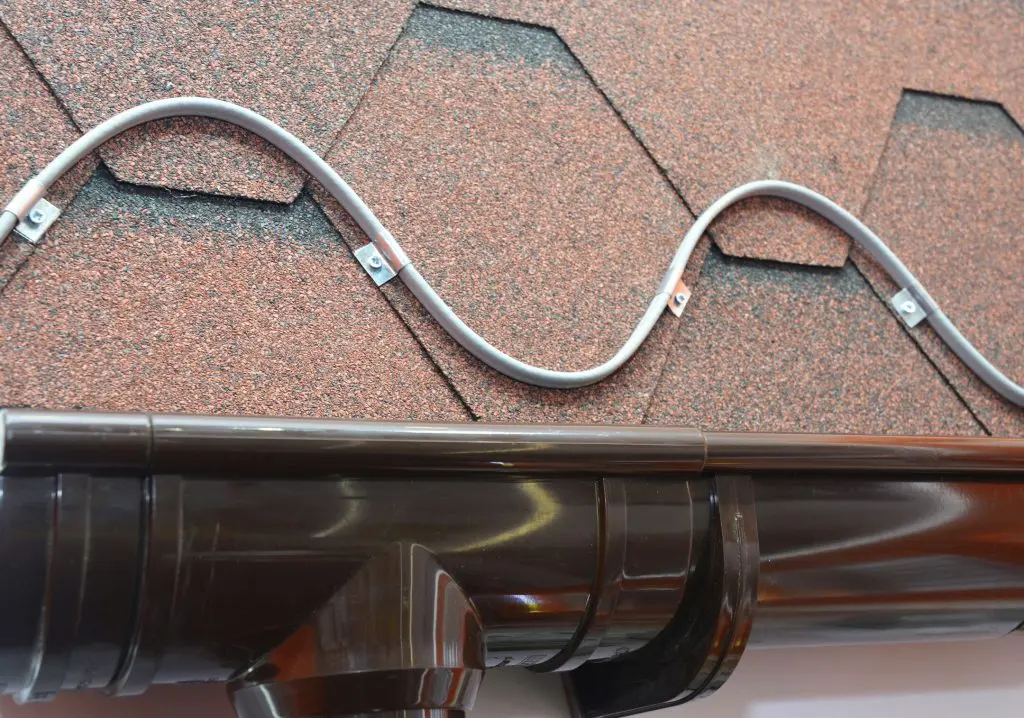
- Do not rely on heating cables as a permanent fix: Heat cables can create a channel through the ice and may help in a few trouble spots, but they use electricity, they treat the symptom, and they do nothing about the heat loss behind the problem.
Permanent Fixes vs. Temporary Ice Dam Measures
Understanding which solutions solve the cause and which only manage the symptom helps homeowners decide where to spend money first. A temporary measure can protect the home during one storm, while a permanent fix removes the reason ice dams form.
How the Options Compare
| Approach | Type | What It Does | Typical Longevity |
| Air sealing the attic floor | Permanent | Stops heat from reaching the roof deck | Decades |
| Added insulation | Permanent | Slows heat transfer into the attic | Decades |
| Balanced ventilation | Permanent | Keeps the deck cold and even | Life of the roof |
| Ice and water shield | Permanent | Waterproofs the eave against backup | Life of the roof |
| Roof raking | Temporary | Removes snow before it melts | Each storm |
| Heating cables | Temporary | Creates melt channels in problem spots | Seasonal |
Where to Start
For most homes in Salem, OH and surrounding areas, the order of operations is air sealing first, insulation second, and ventilation third. Those three steps address the cause. A reroof is the natural moment to add ice and water shield and correct any ventilation flaws at the same time, since the deck is exposed and the work can be done properly.
When to Call a Professional
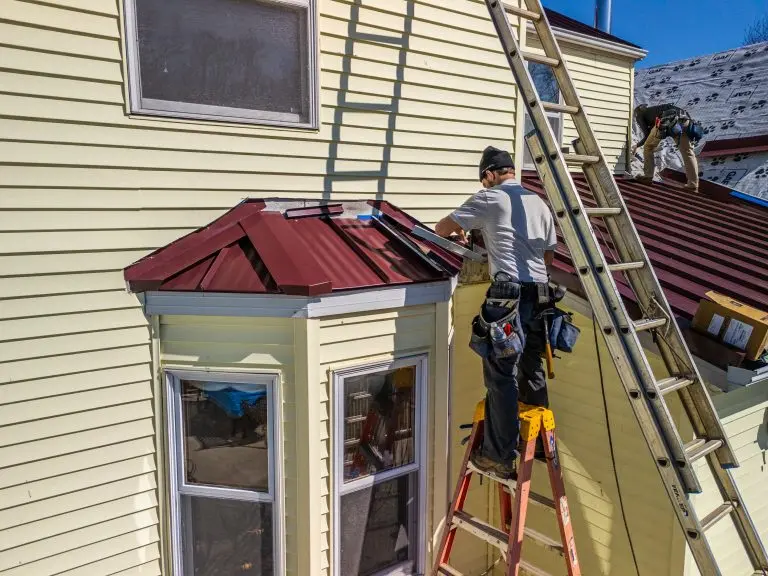
An experienced roofer can inspect the attic for the exact source of the heat loss, identify blocked vents, and tell you whether the roof itself needs correction. If you have had ice dams in more than one winter, a professional inspection is usually the most efficient next step.
Stop Ice Dams Before the First Heavy Snowfall
Ice dams are not an unavoidable part of an Ohio winter. They are the result of heat escaping into the wrong place, and every step in this guide works by correcting that. The homeowners who avoid the damage are the ones who act in fall, while the weather is mild and the options are wide open.
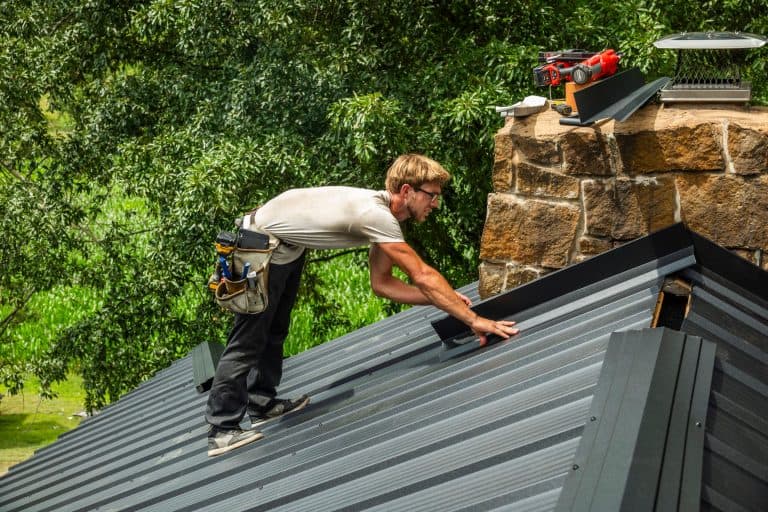
At Keim Quality Roofing, we help homeowners throughout Salem, OH and surrounding areas find the real cause of their ice dams and fix it properly, whether that means ventilation corrections, ice and water shield at the eaves, or a full roof replacement. We look at the whole roof and attic system, explain what we find in plain terms, and recommend only what your home needs. If you want your roof ready before winter arrives, contact us today and let Keim Quality Roofing give you a clear plan.