Skylight Installation: Cost, Benefits & What to Expect
Few home upgrades change the way a space feels as immediately as a well-placed skylight. Natural light transforms dark hallways, makes small rooms feel larger, and reduces reliance on artificial lighting throughout the day. But skylight installation is a project where quality of execution matters as much as the product itself, and the difference between a skylight that performs beautifully for thirty years and one that leaks within two comes down to how it was planned and installed. If you want to understand how a skylight fits into a properly built roof system, this guide covers everything before you commit.
Here is what you will learn in this post:
- The real benefits of adding a skylight beyond just bringing in more light
- What skylight installation costs in 2026 and what drives the price
- The main skylight types and how to choose the right one for your space
- Common installation mistakes that lead to leaks and how to avoid them
- What the installation process looks like from the first cut to the finished ceiling
- How to care for your skylight once it is in place
The Benefits of Skylight Installation That Go Beyond Aesthetics
A skylight is often thought of as a luxury upgrade, something added for looks or lifestyle appeal. In practice, a properly installed skylight delivers functional benefits that affect how a home performs day to day, from energy efficiency to air quality to long-term property value. Understanding those benefits helps homeowners evaluate whether the investment makes sense for their specific situation.
For homeowners in Dundee, OH and surrounding areas, where grey winter skies can stretch for weeks at a time, the mental health and quality-of-life impact of increased natural light is as real as any energy savings. Here is what a well-chosen skylight actually delivers:
- Daylighting reduces energy costs year-round: A skylight positioned on a south or north-facing slope can reduce daytime lighting demand significantly, and ENERGY STAR-rated units with low-E coatings minimize heat gain in summer and heat loss in winter.
- Ventilating skylights improve indoor air quality: Operable units allow hot air and moisture to escape from the upper portion of a room, reducing the strain on HVAC systems and improving airflow in kitchens, bathrooms, and upper-floor spaces where heat accumulates.
- Natural light reaches spaces windows cannot serve: Interior hallways, bathrooms on interior walls, and rooms with limited exterior wall exposure can receive meaningful daylight through a skylight that no window placement could provide.
- Property value increases with professional installation: Skylights are consistently viewed as a desirable feature by homebuyers, and units installed by a licensed contractor with proper flashing and waterproofing add tangible value to appraisals.
- Mood and productivity improve with more daylight: Increased exposure to natural light is linked to better sleep, reduced stress, and improved focus, making skylights one of the few home upgrades with documented wellness benefits alongside their financial return.
What Skylight Installation Costs in 2026
Cost is the first practical question most homeowners ask, and the honest answer is that skylight pricing spans a wide range depending on the unit type, the complexity of the installation, and what the interior finish work requires. Understanding what drives the numbers helps you evaluate contractor estimates accurately and avoid being surprised by scope items that were left out of a low bid.
Skylight Cost Ranges by Type
| Skylight Type | Unit Cost | Installation Cost | Total Typical Range |
| Fixed Skylight (standard) | $150 to $600 | $500 to $1,000 | $650 to $1,600 |
| Ventilating Skylight (manual) | $300 to $900 | $600 to $1,200 | $900 to $2,100 |
| Ventilating Skylight (motorized) | $600 to $1,500 | $700 to $1,400 | $1,300 to $2,900 |
| Tubular Skylight | $200 to $600 | $300 to $700 | $500 to $1,300 |
| Custom or Specialty Unit | $1,000 to $4,000+ | $1,000 to $3,000+ | $2,000 to $7,000+ |
What Adds to the Base Installation Cost
Several factors can push the total cost above the ranges above, and a contractor who does not account for them upfront is either planning to add change orders later or planning to skip the work entirely.
- Rafter cutting and structural framing: If the desired location requires cutting a rafter and installing doubled headers, expect $300 to $800 in additional framing cost
- Light shaft construction: A finished drywall light shaft connecting the roof opening to the ceiling below adds $400 to $1,200 depending on attic height and shaft geometry
- Existing roof condition: If the surrounding shingles, decking, or flashing need repair before the skylight is installed, those costs are separate from the skylight work
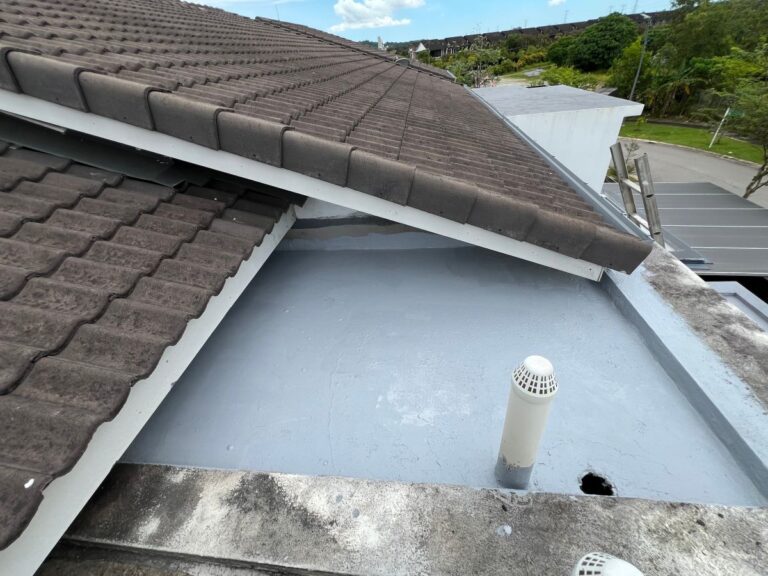
- Roof material type: Tile and metal roofing require more labor-intensive cutting and flashing than asphalt shingles, which increases installation cost meaningfully
Choosing the Right Skylight for Your Home
Not every skylight is right for every situation, and selecting the wrong type for the location or intended purpose leads to either underperformance or ongoing frustration. The decision comes down to four primary variables: function, size, glazing, and placement.
Fixed vs. Ventilating
Fixed skylights are sealed units that do not open. They are the right choice when the primary goal is light and the space below does not accumulate significant heat or moisture. Ventilating skylights, which can be opened manually or by remote, add an airflow function that makes them the preferred choice for kitchens, bathrooms, and any upper-floor room where heat builds during warm months.
In Dundee, OH and surrounding areas, where summer humidity can be significant, a ventilating skylight in a bathroom or kitchen provides a practical moisture management benefit that a fixed unit simply cannot.
Sizing the Skylight Correctly
A skylight that is too large for the room it serves causes glare, uneven heat gain, and a visual imbalance that makes the space uncomfortable rather than inviting. The standard guideline is that skylight area should not exceed 5% of the floor area in rooms with multiple windows, and no more than 15% in rooms with limited natural light sources.
- Oversized skylights in south-facing applications can cause significant heat gain in summer even with low-E glazing
- Undersized skylights in north-facing or heavily shaded applications may not deliver enough light to justify the installation cost
- Tubular skylights are the right solution for very small spaces like closets, hallways, and compact bathrooms where a full framed unit cannot be accommodated
Glazing Options and Performance
The glazing type affects both the skylight’s energy performance and how the light it delivers feels in the space below.
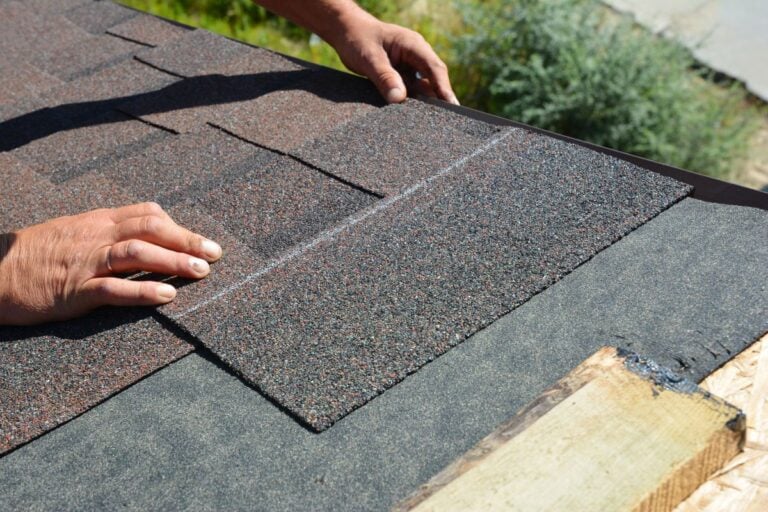
- Tempered glass is the standard for most residential skylights, offering impact resistance and safety in the event of breakage
- Laminated glass holds together if broken rather than shattering, making it the preferred choice for overhead applications
- Low-E coatings reduce UV transmission and heat gain without significantly reducing visible light, improving energy performance in all four seasons
- Tinted or diffusing glazing softens direct sunlight and reduces glare, which is particularly useful in south-facing installations or spaces used for work and screen viewing
A Step by Step Guide to Skylight Installation
Understanding the sequence of a professional skylight installation helps homeowners recognize when a contractor is doing the job correctly and when important steps are being skipped. The details of this process, particularly around flashing and structural framing, are where the long-term performance of the installation is determined.
Structural Assessment and Location Confirmation
Before anything is cut, a qualified contractor evaluates the roof structure and the ceiling framing below to confirm that the chosen location is structurally viable. The installation site must fall between existing rafters or require proper header framing if a rafter must be cut. The location of HVAC ducts, electrical wiring, and plumbing in the ceiling cavity is confirmed before any framing decisions are made.
Cutting and Framing the Opening
Once the location is confirmed, the opening is cut from both the roof surface and the ceiling below. Precision at this stage is critical because the rough opening dimensions must match the skylight unit exactly. If a rafter is cut, doubled headers and trimmer rafters are installed to redistribute the structural load. The light shaft connecting the two openings is framed to the appropriate geometry, whether straight, angled, or splayed, based on the attic space available and the light distribution desired in the room below.
Understanding the Light Shaft: How It Shapes the Light in Your Room
The light shaft is the framed tunnel that connects the roof opening above to the ceiling opening below, and its geometry has a direct effect on how much light reaches the room and how it is distributed across the space. A straight shaft delivers the most concentrated light directly below the unit. An angled shaft redirects light toward a specific wall or area of the room. A splayed shaft, wider at the ceiling than at the roof, disperses light more broadly and softens the transition between the skylight and the surrounding ceiling surface.
- Shaft depth is determined by attic height and affects how much light is lost in transit from roof to ceiling
- White or light-colored shaft walls reflect light more effectively and brighten the room below more than dark finishes
- Insulating the shaft walls properly is important for thermal performance, particularly in Dundee, OH and surrounding areas where winter temperatures put real pressure on any uninsulated cavity
Step Flashing, Saddle Flashing, and Sill Flashing: Why Each One Matters
This is the most technically demanding phase of the entire skylight installation and the one most directly responsible for whether the unit performs without leaking for the life of the roof. Each component of the flashing system serves a specific role, and skipping or shortcutting any one of them is the most common reason skylights fail.
Step flashing runs up both sides of the skylight frame, with individual metal pieces interwoven between each course of shingles to create a layered water barrier along the vertical edges. Saddle flashing, also called a cricket, is installed on the uphill side of the skylight to divert water and debris around the frame rather than allowing it to pond against the unit. Sill flashing seals the bottom edge of the skylight where water exits the frame and transitions back onto the roof surface below.
Improper or insufficient flashing is the single most common cause of skylight leaks and is almost always the result of shortcuts taken during installation. Manufacturer-supplied integrated flashing kits are strongly preferred over site-fabricated alternatives because they are engineered specifically for each unit.
Sealing the Bottom Edge and Surrounding Transitions
Once the primary flashing components are in place, the bottom edge of the skylight and all surrounding transitions require careful sealing to complete the weathertight barrier. The bottom edge is where water exits the skylight frame and must be directed cleanly back onto the roof surface without the opportunity to infiltrate beneath the shingle courses below.
Sealant is applied at manufacturer-specified locations along the frame perimeter, and all flashing transitions are inspected to confirm there are no gaps, lifted edges, or exposed fasteners before the surrounding shingles are finished. A responsible contractor does not consider this phase complete until every transition point has been verified from the roof surface.
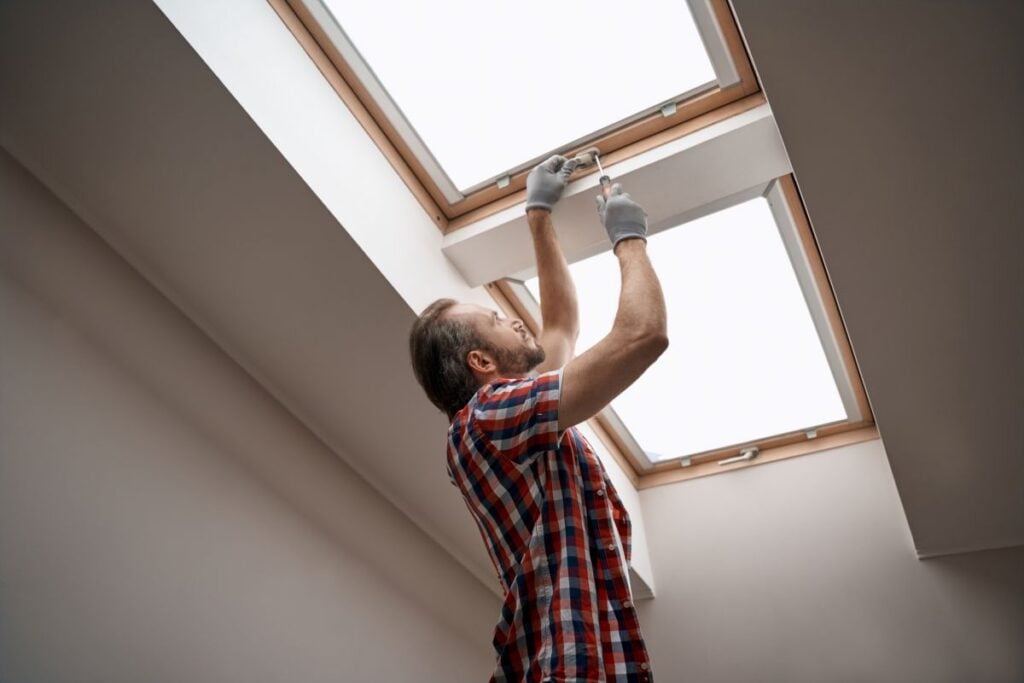
Finishing the Interior
Once the exterior is fully sealed and inspected, interior work begins. The light shaft is drywalled, taped, finished, and painted to match the surrounding ceiling. For ventilating skylights, the operating mechanism is installed and tested before the project is considered complete. A responsible contractor inspects both the exterior flashing and the interior fit before signing off on the work.
Maintaining Your Skylight After Installation
A professionally installed skylight requires minimal maintenance, but a small amount of consistent attention prevents the minor issues that become costly problems over time.
- Clean the glazing twice a year using a soft cloth and mild soap solution. Avoid abrasive cleaners or scrubbing pads that scratch tempered or laminated glass surfaces.
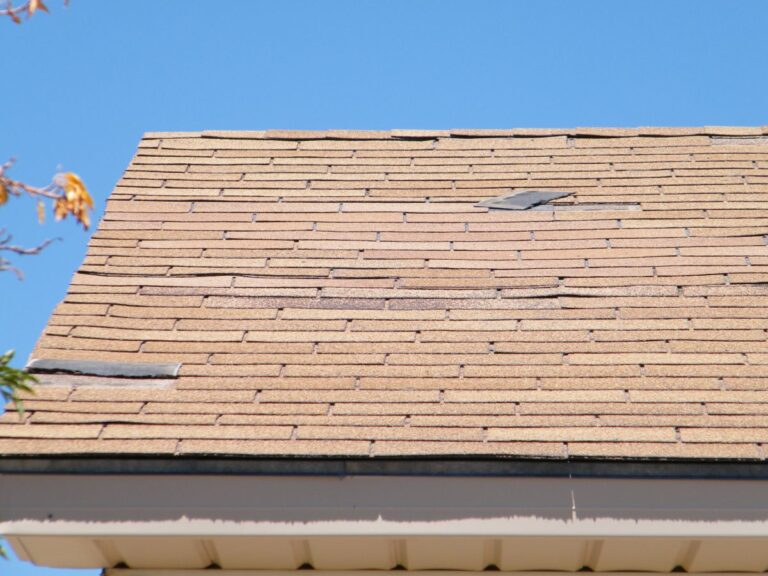
- Inspect flashing and sealant annually in the spring after winter weather has cleared. Look for lifted flashing edges, cracked sealant, or shingles that have shifted away from the frame. Catching these early prevents water infiltration into the light shaft and ceiling below.
- Operate ventilating mechanisms regularly to prevent hinges and hardware from seizing. Lubricate with a silicone-based product and confirm that the operable panel seals completely without gaps when closed.
- Watch for interior condensation that pools and runs down the shaft wall rather than evaporating. Persistent condensation may indicate degraded glazing insulation or an inadequate vapor barrier in the light shaft construction.
- Schedule a professional inspection after any significant hail event or severe wind storm to confirm that the flashing and surrounding shingles remain intact and properly sealed.
Ready to Bring More Natural Light Into Your Home?
A skylight installation done right is one of the most rewarding upgrades a homeowner can make. The light it brings into a space, the energy savings it enables, and the long-term value it adds to a property are all real and lasting benefits. But those outcomes depend entirely on the quality of the planning and the installation behind them.
At Keim Quality Roofing, we have helped homeowners throughout Dundee, OH and surrounding areas add skylights that perform as well on day one thousand as they do on day one. We take the structural assessment, step flashing, saddle flashing, sill flashing, and interior finish work seriously because that is where the value of this project is actually built. If you are ready to explore what adding a skylight can do for your home, contact us today and let Keim Quality Roofing help you move forward with confidence.