Metal Roof Repair: 7 DIY Fixes for Your Home
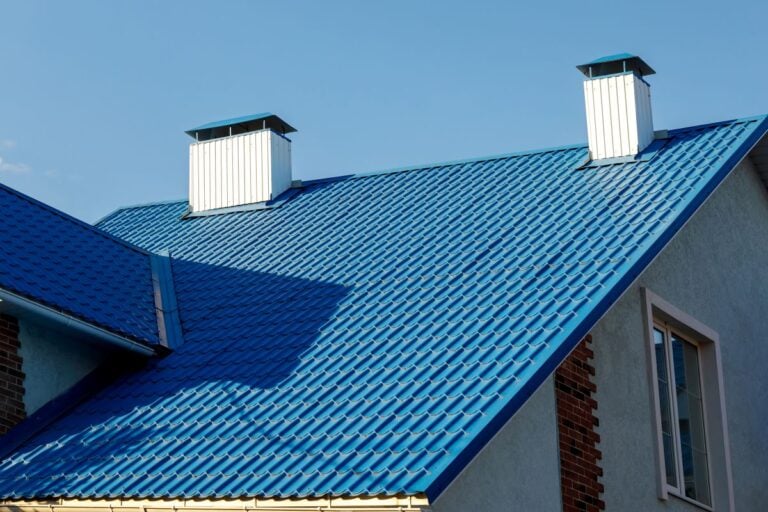
A metal roof is one of the most durable investments a homeowner can make, but even the toughest systems develop problems over time. Loose fasteners, small holes, failing sealant, and surface rust are among the most common issues, and catching them early is what separates a minor maintenance task from a major repair bill. Understanding metal roof repair at the DIY level gives homeowners the knowledge to handle manageable fixes confidently and recognize when a problem has grown beyond what should be tackled without professional help. If you want to understand what a well-maintained metal roof system actually requires, repair and maintenance are a central part of that conversation.
Here is what you will learn in this post:
- The most common types of metal roof damage and what causes them
- 7 DIY fixes homeowners can tackle safely and effectively
- Which materials and tools are needed for each repair type
- How to identify when a repair is beyond DIY scope
- What regular maintenance looks like to prevent repairs from becoming replacements
- How professional repair differs from DIY and when to make the call
The Most Common Metal Roof Problems and Why Early Action Matters
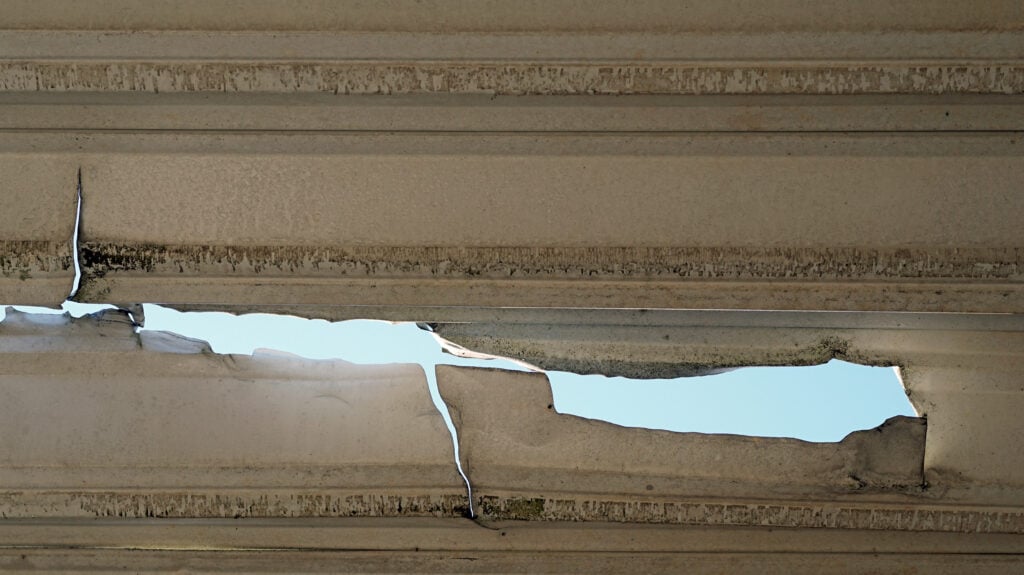
Metal roofing earns its reputation for longevity, but that longevity is not passive. It depends on addressing minor issues before they compound into structural problems that compromise the entire system. A small hole left unsealed becomes a pathway for water that saturates the roof deck and insulation below. A loose fastener ignored through one winter becomes a missing fastener by spring, leaving an unprotected penetration that accelerates panel movement and leaking.
For homeowners in Dundee, OH and surrounding areas, seasonal weather patterns make proactive repair especially important. Freeze-thaw cycles stress fasteners, ice loads accelerate panel movement, and heavy spring rains quickly reveal any sealing failure that developed over winter. The homeowners who get the most life out of their metal roofs are the ones who inspect regularly and repair promptly. Here is why that approach pays off:
- Small repairs stay small when caught early: A tube of sealant applied to a failing lap joint costs a fraction of what water damage to the roof deck, insulation, and ceiling below will cost if that joint is left unaddressed through another rain season.
- DIY repairs on metal roofs are genuinely accessible: Unlike shingle systems where repair often requires matching specific products and navigating complex layering, many metal roof repairs involve straightforward materials and techniques that a homeowner with basic tools and comfort working at height can execute successfully.
- Maintenance records support insurance claims: A documented history of inspections and prompt repairs demonstrates responsible ownership that can support a claim when storm damage occurs, showing that pre-existing deterioration was not a contributing factor.
- Fastener and sealant failures are predictable maintenance items: Exposed fastener systems in particular require periodic inspection and re-sealing as rubber washers degrade with UV exposure over time. Knowing this in advance and addressing it on schedule prevents the reactive repairs that cost more and happen at inconvenient times.
- Professional repairs cost significantly more than DIY for basic fixes: Contractor mobilization costs, labor rates, and minimum job sizes mean that a small sealant repair or a handful of fastener replacements cost several times more when handled professionally than when done by a capable homeowner.
7 DIY Metal Roof Repairs You Can Handle at Home
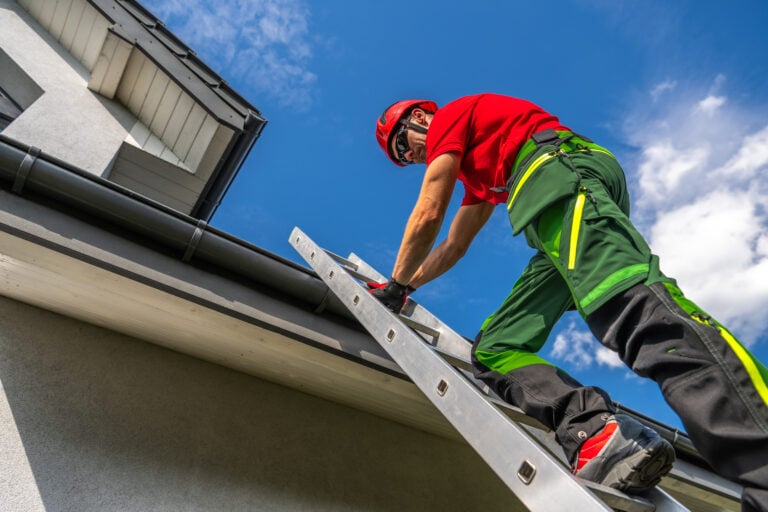
Each of these repairs addresses a specific type of metal roof problem with materials and techniques that are accessible to homeowners who are comfortable working safely at height. Safety comes first on every repair listed here: work only in dry conditions, use appropriate footwear with grip, and never work on a roof without a ground-level partner.
1. Resealing Failing Lap Joints and Seams
Lap joints are where one metal panel overlaps another, and the sealant at those joints is one of the first components to degrade over time. UV exposure, thermal cycling, and physical movement cause lap sealant to dry out, crack, and pull away from the panel surface, creating a gap that allows wind-driven rain to infiltrate the overlap.
- Clean the joint thoroughly with a wire brush and metal cleaner to remove any dirt, oxidation, or old sealant residue before applying new product
- Apply a urethane or butyl-based lap sealant rated for metal roofing into the joint, pressing it firmly into any gaps and smoothing the surface to prevent water from pooling against the bead
- Avoid silicone-based sealants unless they are specifically formulated for metal roofing, as standard silicone does not adhere well to metal surfaces and cannot be painted over if touch-up is needed later
- Re-inspect sealed joints after the first significant rain to confirm the repair is holding before the season progresses
2. Replacing Worn or Missing Fastener Washers
On exposed fastener metal roofing systems, the rubber or neoprene washer beneath each screw head is what creates the weathertight seal at every panel penetration. These washers are designed to compress against the panel surface and seal out water, but UV exposure degrades the rubber over time, causing it to harden, crack, and lose its sealing ability.
Replacing worn washers is one of the most straightforward and highest-impact DIY repairs available on an exposed fastener roof. In Dundee, OH and surrounding areas, inspecting and replacing worn washers every five to seven years is a reasonable maintenance schedule given the region’s UV exposure and precipitation levels.
- Remove the existing screw carefully with a drill driver, noting the screw length and diameter so the replacement matches exactly
- Inspect the hole in the panel for any elongation or cracking that would prevent a new washer from sealing properly
- Install a new screw with a fresh washer, driving it to the point where the washer is compressed slightly but not so tight that it deforms or tears
- Apply a small bead of lap sealant around the screw head perimeter for an additional layer of water protection
3. Patching Small Holes and Punctures
Small holes from wind-driven debris, animal activity, or corrosion breakthrough can be patched effectively with metal roofing patch tape or a compatible metal patch and sealant, provided the surrounding panel material is still structurally sound and the hole is no larger than a few inches in diameter.
- Clean the area around the hole thoroughly, removing any rust, dirt, or loose material with a wire brush before applying any patch material
- For very small holes under half an inch, a urethane roofing sealant applied in layers with a putty knife is often sufficient to seal the penetration
- For holes up to three inches in diameter, a self-adhesive metal roofing patch tape applied over the cleaned area provides a durable, flexible seal that moves with the panel through thermal cycling
- For larger holes, a metal patch cut from compatible material and secured with roofing screws along all edges, then sealed at every fastener and along the perimeter, is the appropriate repair approach
4. Treating Surface Rust Before It Penetrates
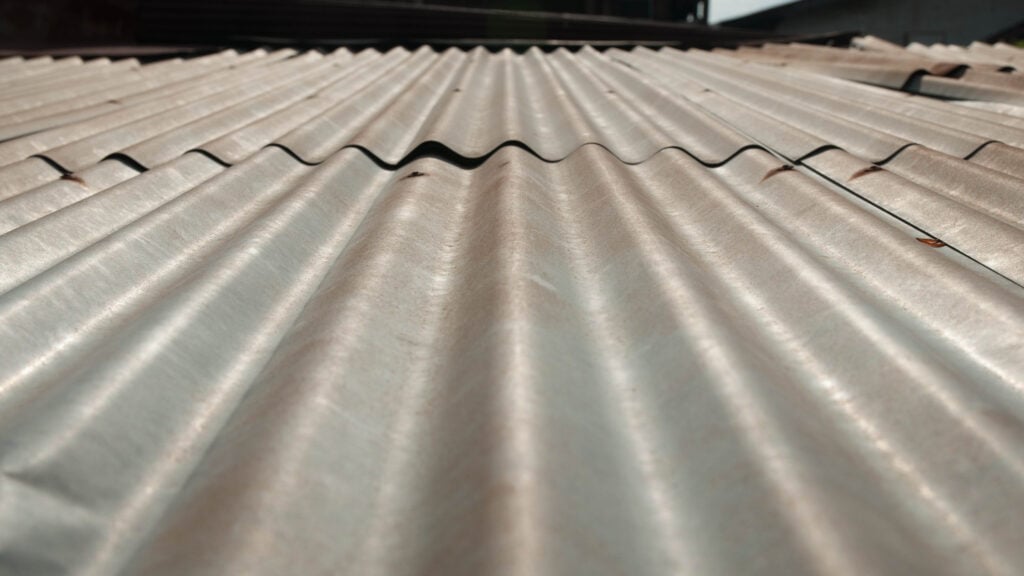
Surface rust on metal roofing, particularly around cut edges, fastener locations, and areas where the coating has been scratched, can be addressed effectively at the DIY level before it penetrates the full panel thickness. Rust that has reached the surface but has not yet eaten through the metal is a maintenance item. Rust that has created a hole is a structural repair.
- Sand or wire-brush the rusted area down to bare, clean metal, removing all loose rust and oxidation before any treatment is applied
- Apply a rust-inhibiting primer specifically formulated for metal surfaces, allowing it to dry fully before topcoating
- Apply a touch-up paint matched to the original panel color over the primed area, feathering the edges to blend with the surrounding coated surface
- For larger rust-affected areas where the coating has failed across a broad section, a roof coating product applied over the cleaned and primed surface provides a new protective layer that extends panel life significantly
5. Resealing Around Pipe Boots and Penetration Flashings
Pipe boots and penetration flashings seal around plumbing vents, electrical conduits, and other elements that pass through the roof surface. The flexible rubber collar on a standard pipe boot degrades with UV exposure over time, developing cracks and gaps that allow water to run down the penetration and into the roof structure below.
- Inspect all pipe boots and penetration flashings during every roof inspection, looking for cracked or missing rubber collars, gaps between the collar and the pipe, and deteriorated sealant at the base of the flashing
- For minor collar cracking without full separation, a compatible roofing sealant applied around the collar-to-pipe junction can extend the seal’s life by several additional years
- For boots with significantly degraded or missing collars, a replacement universal pipe boot slipped over the existing penetration and secured to the panel surface with screws and sealant is the correct repair
- Apply lap sealant generously under the base flange of the new boot before fastening to ensure the perimeter seal is complete before any rain event
6. Securing Loose or Lifted Panel Edges
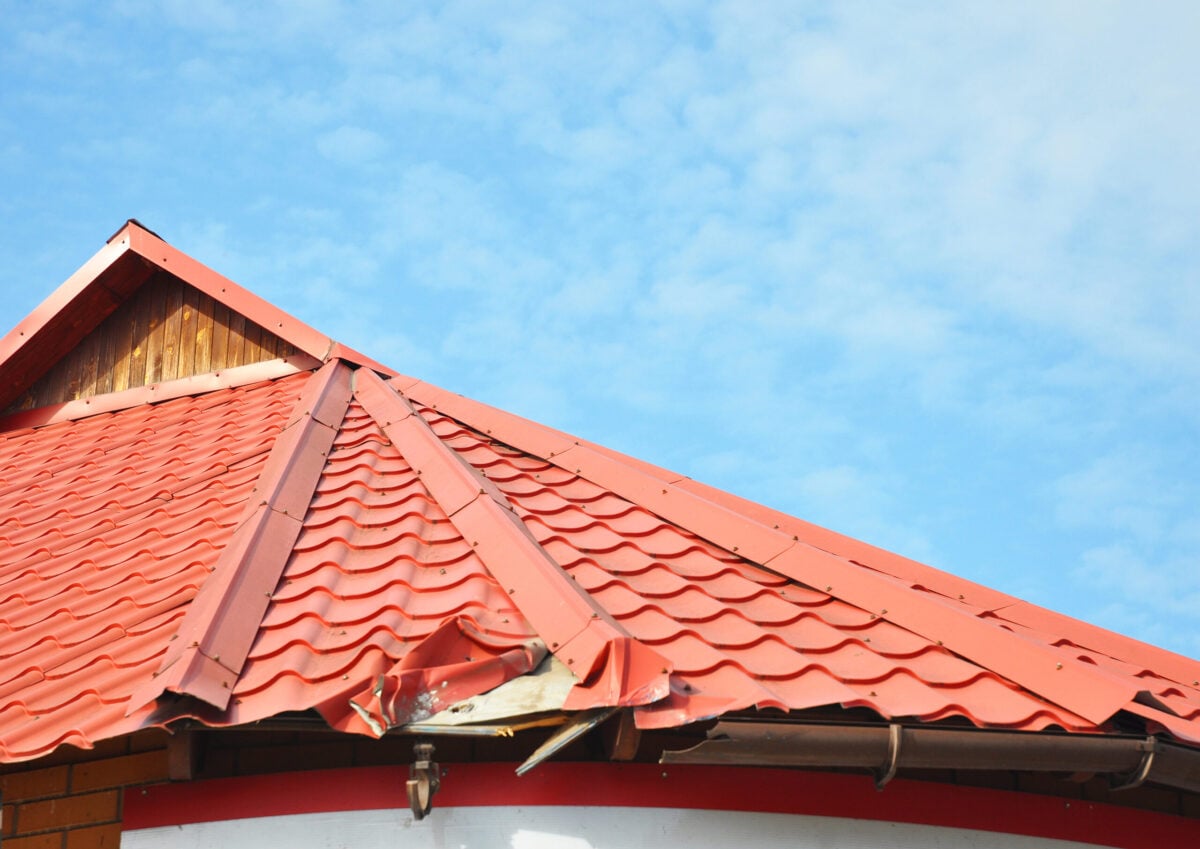
Wind events can lift panel edges, particularly at the eaves and rakes where panels are most exposed to uplift forces. A panel edge that has been lifted once is more vulnerable to subsequent wind events, and addressing it promptly prevents progressive damage that can eventually pull an entire panel section free.
- Press the lifted panel edge back into its correct position and assess whether the original fasteners are still intact or whether they have been pulled through the panel or stripped from the deck below
- If original fasteners are stripped or missing, install replacement screws in the correct fastener zone at appropriate spacing, using screws long enough to reach solid decking beneath the panel
- Apply lap sealant along the lifted edge before pressing it back into position to restore the seal between the panel and the substrate or adjacent panel below
- For panels lifted at hip or ridge caps, the same approach applies but requires particular attention to fastener placement so that the cap is secured symmetrically across both sides of the ridge or hip
7. Clearing Debris From Valleys and Around Penetrations
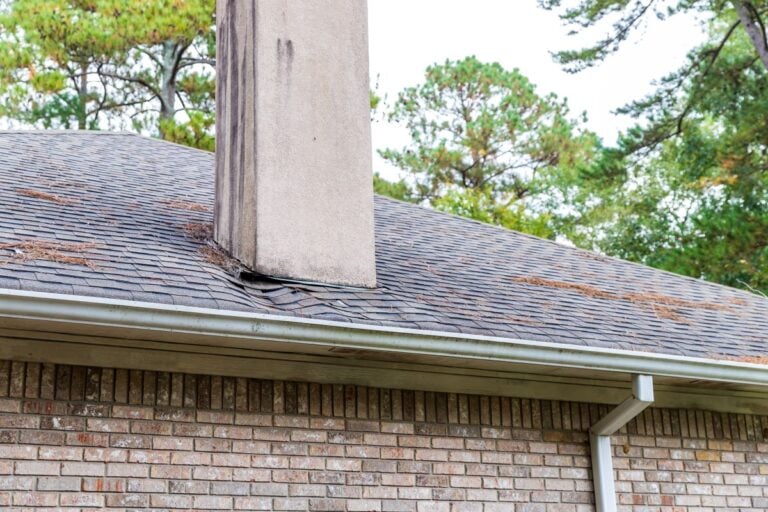
This is the simplest repair on the list but also one of the most neglected. Valleys are the channels where two roof planes intersect and water volume is highest. When leaves, seed pods, and organic debris accumulate in valleys or around chimneys, skylights, and other penetrations, they hold moisture against the metal surface and accelerate corrosion, sealant degradation, and panel staining.
- Clear valleys and penetration perimeters of all organic debris at least twice per year, ideally in late fall after leaf drop and in late spring after seed season
- After clearing, rinse the valley with a garden hose to flush any remaining debris toward the gutters and confirm that drainage is unobstructed
- Inspect the valley flashing and penetration sealant while the area is clear and accessible, addressing any sealant failures or flashing gaps before the next rain season
What to Inspect During a Routine Metal Roof Maintenance Check
Regular inspection is what makes DIY repair effective. A problem identified early is almost always simpler and less expensive to address than one discovered only after it has caused secondary damage. These are the specific things worth checking during a twice-yearly inspection of a metal roof.
Panel surface condition. Look for surface rust, paint loss, scratches, and impact marks from hail or debris. These are candidates for the rust treatment and touch-up process described above and are easiest to address before they develop into corrosion that penetrates the panel.
Fastener condition. On exposed fastener systems, check every accessible fastener for washer compression, rust around the screw head, and any signs that the panel has shifted or the fastener has loosened. In Dundee, OH and surrounding areas, fastener inspection is especially important after winter, when freeze-thaw cycles can back screws out of the deck slightly.
Sealant condition at all joints and flashings. Walk every lap joint, valley edge, and penetration perimeter and look for cracked, missing, or pulled-away sealant. These are the highest-priority DIY repair items because they represent active or imminent water infiltration pathways.
Gutter condition and drainage. Check that gutters are clear, properly pitched toward the downspouts, and securely attached along the full eave length. Backed-up gutters allow water to pond at the eave edge and infiltrate beneath the drip edge, which accelerates corrosion at the panel’s most vulnerable lower edge.
Ridge cap and hip cap condition. Inspect the ridge cap and all hip caps for lifted edges, missing fasteners, and cracked sealant. These components run along the highest and most wind-exposed lines of the roof and are worth checking carefully after any significant weather event.
When DIY Repair Reaches Its Limits
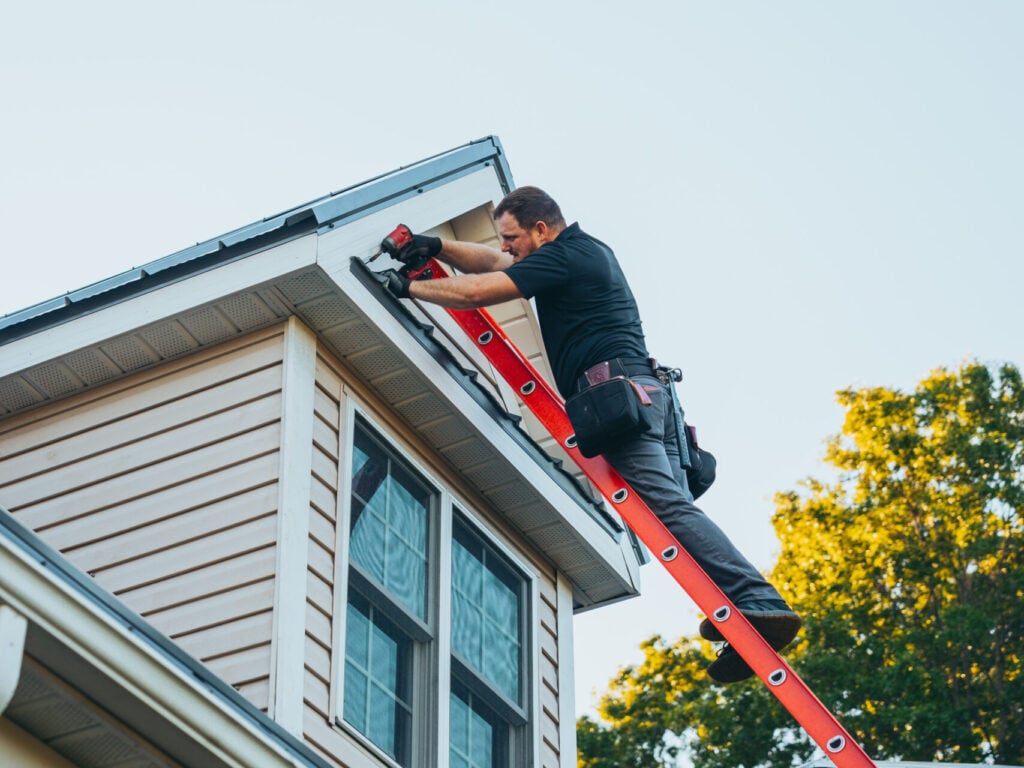
Not every metal roof repair belongs in the DIY category, and recognizing where that line falls is as important as knowing how to handle the repairs that do. These situations call for professional assessment and repair rather than a homeowner fix.
Structural Panel Damage
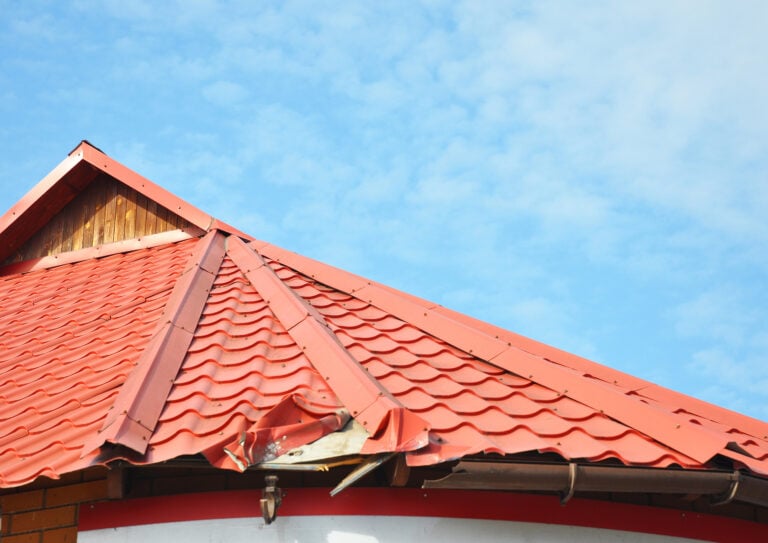
Panels that have been significantly bent, crimped, or deformed by impact or wind cannot be reshaped to their original profile in the field. Deformed panels allow water to pond in the depression, accelerate corrosion, and compromise the lap and seam geometry that the surrounding installation depends on. Panel replacement requires professional tools, matching material, and integration with the existing installation that goes beyond standard DIY scope.
Widespread Fastener or Coating Failure
When fastener washer degradation or coating failure affects a large portion of the roof surface rather than isolated locations, the appropriate response is a full roof coating or restoration project rather than individual spot repairs. These projects involve surface preparation, primer application, and coating systems that require professional equipment and application technique to perform correctly.
Any Repair Requiring Work Near Electrical Components
Roof repairs near solar panel systems, electrical service entrances, or other energized components should always be handled by qualified professionals. The combination of roofwork at height and electrical hazard is not a situation where DIY repair is appropriate regardless of the homeowner’s general comfort level with roofwork.
Leak Sources That Cannot Be Identified
When water is entering a home through the roof but the infiltration point cannot be clearly identified from the roof surface, professional investigation is the right next step. An experienced contractor can trace water pathways through the roof system that are not apparent from a surface inspection, preventing the frustrating cycle of patching the wrong location while the actual source continues to leak.
Do Not Let Small Issues Turn Into Big Repairs
A metal roof that receives regular attention stays in top condition for decades. One that is inspected only when something goes visibly wrong tends to accumulate deferred maintenance that eventually demands a much larger investment than any of the individual repairs would have required on their own.
At Keim Quality Roofing, we work with homeowners throughout Dundee, OH and surrounding areas to keep metal roofs performing at their best through every season. Whether you need a professional inspection to benchmark your roof’s current condition, a repair that has grown beyond DIY scope, or guidance on the right maintenance schedule for your specific system, our team has the experience and the tools to help. Contact us today and let Keim Quality Roofing keep your metal roof doing what it was built to do.