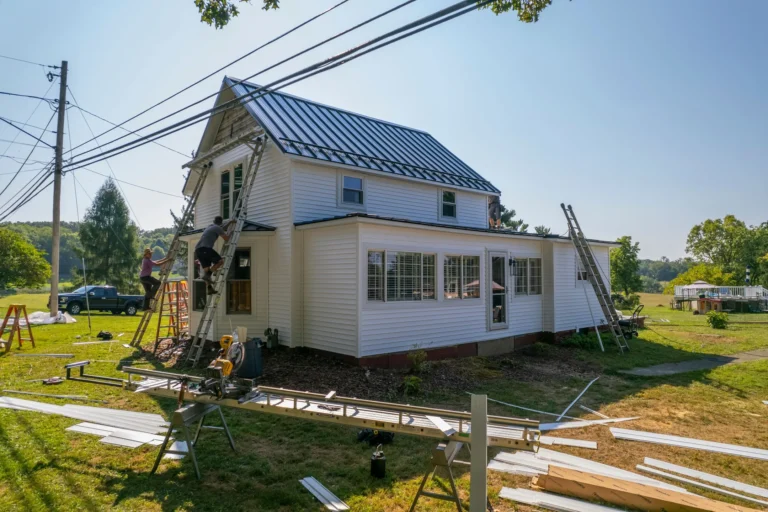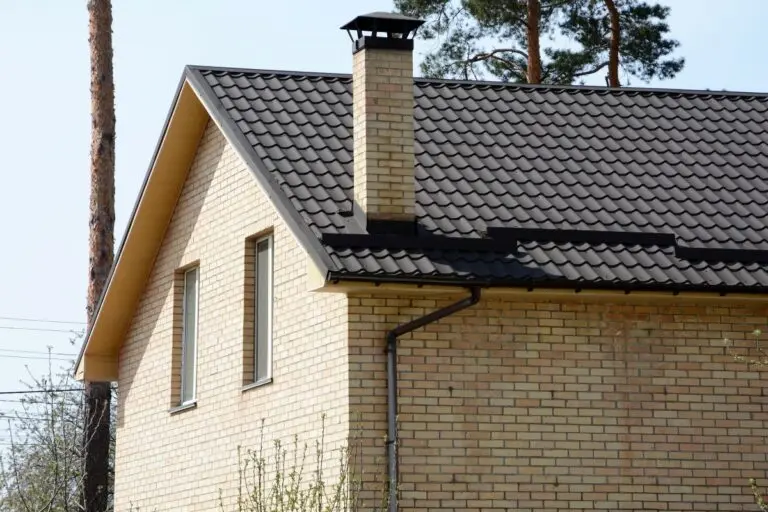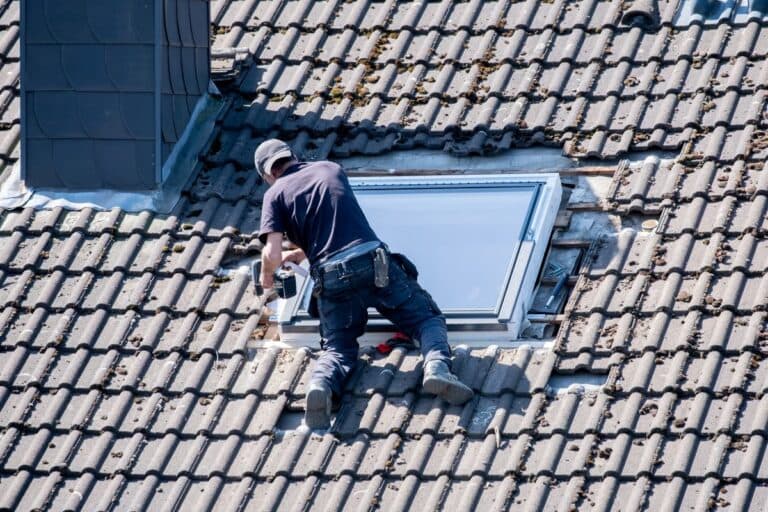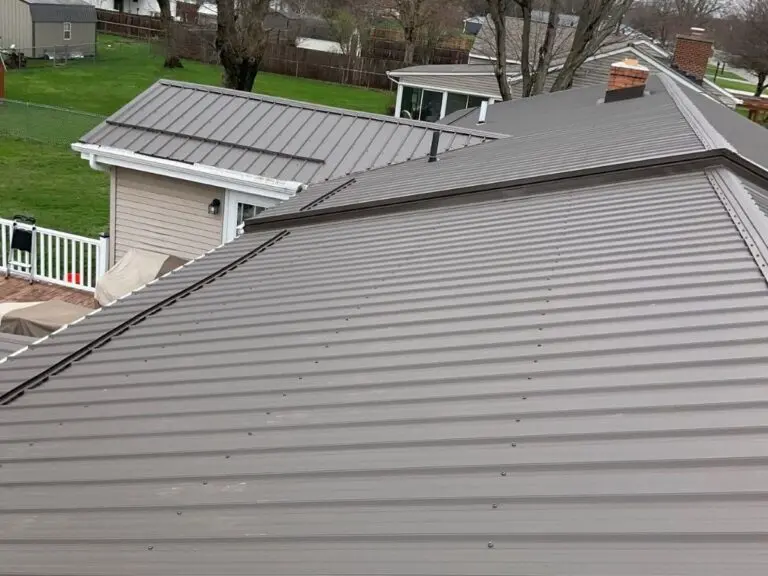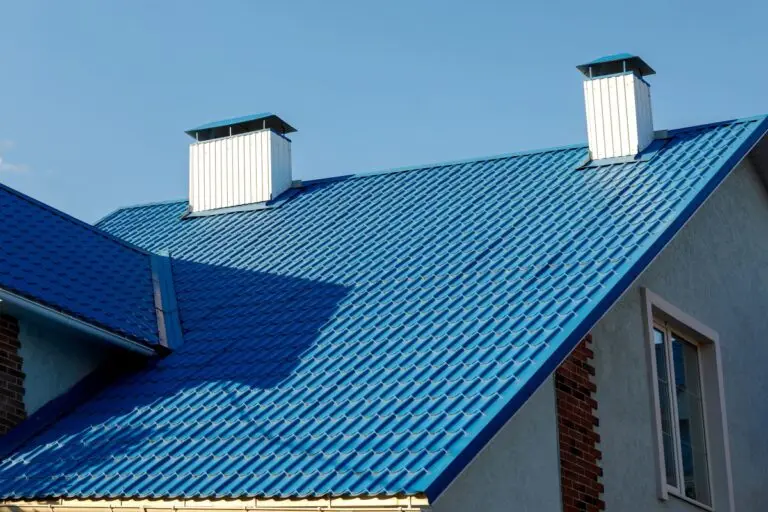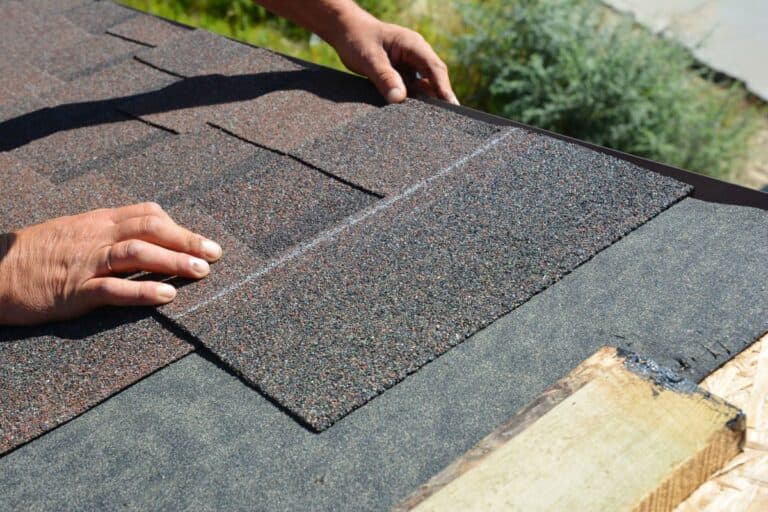
How to Measure a Roof for Metal Roofing (Step-by-Step Guide)
Getting accurate measurements before a metal roofing project is not optional. It is the foundation that every material order, cost estimate, and installation plan is built on. Understanding how to measure a roof for metal roofing gives homeowners a meaningful advantage when reviewing contractor bids, ordering materials, and catching errors before they become expensive problems on the job site. Metal roofing involves less waste tolerance than asphalt shingles, which makes precision at the measurement stage more consequential. If you want to understand what goes into planning a well-executed metal roof installation, measurement is where that process starts.
Here is what you will learn in this post:
- Why accurate roof measurement matters more for metal roofing than other materials
- How to measure each roof plane correctly from the ground and from the roof surface
- How roof pitch factors into the total material calculation
- What waste factors and overages to account for when ordering metal roofing
- Common measurement mistakes that lead to material shortfalls and cost overruns
- When to rely on a professional measurement versus doing it yourself
Why Accurate Measurement Matters More for Metal Roofing
Measuring a roof for asphalt shingles leaves more room for error because shingles are sold in bundles, cut easily on site, and carry enough overage in a standard order to cover minor miscalculations. Metal roofing works differently. Panels are often custom cut to length, ordered in specific quantities, and delivered as a finished product that cannot be easily supplemented mid-project if the original order falls short.
An underestimate on a metal roofing project means waiting for a second material order, which can delay the project by days or weeks depending on the panel style and color selected. An overestimate means paying for material that will never be used, and unlike asphalt shingles that can be returned in full bundles, cut metal panels have very limited return options. For homeowners in New Philadelphia, OH and surrounding areas planning a metal roofing project, taking the time to get measurements right before any orders are placed is one of the highest-value steps in the entire process. Here is why this step deserves careful attention:
- Material costs are higher per unit: Metal roofing material costs significantly more per square than asphalt shingles, which means measurement errors translate directly into larger dollar discrepancies in both directions.
- Custom panel lengths reduce waste tolerance: Many metal panel systems are cut to the exact length needed for each roof run, leaving no material buffer to absorb miscalculation the way bundles of shingles do.
- Pitch multipliers change the total significantly: A roof that looks straightforward from the ground may have a pitch that adds 20 to 40 percent to the flat square footage, and missing that multiplier produces an estimate that is dramatically short of the actual material needed.
- Ordering delays affect project timelines: Metal roofing is not always stocked locally and may require lead time from the manufacturer. A second order after a shortage can push a project completion date back significantly.
- Accurate bids require accurate measurements: Homeowners who understand their roof’s measurements can evaluate contractor estimates more critically and identify bids that appear to be working from incomplete or inaccurate data.
7 Steps to Measure a Roof for Metal Roofing Accurately
Measuring a roof accurately requires working through a specific sequence of steps that account for the geometry of each roof plane, the pitch of the surface, and the additional material needed for overhangs, valleys, and trim. This guide walks through each step in order.
1. Sketch a Rough Diagram of the Roof From the Ground
Before any measurements are taken, create a simple overhead sketch of the roof’s footprint from the ground. Walk around the entire structure and note every plane, hip, valley, dormer, and change in direction. A rough hand-drawn diagram does not need to be to scale, but it should capture every section of the roof as a labeled shape, whether rectangular, triangular, or trapezoidal.
- Label each plane with a letter or number so measurements taken later can be assigned to the correct section
- Note the location of chimneys, skylights, vents, and other penetrations that will affect panel layout and require flashing
- Identify which planes are hip-ended and which terminate at a rake edge, since these affect how trim and edge metal are calculated
2. Measure the Roof’s Footprint From the Ground
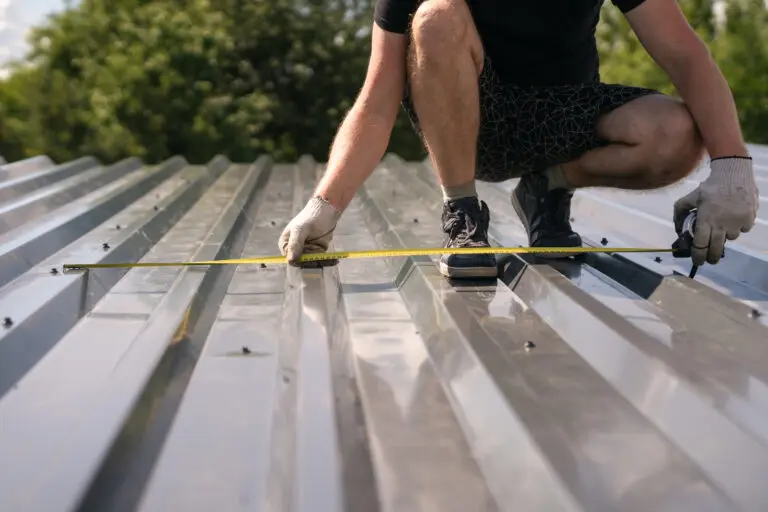
The easiest starting point for measuring a roof is from the ground, using the exterior walls of the structure as a proxy for the roof’s base dimensions. Measure the length and width of each section of the home’s footprint, accounting for any extensions, wings, dormers, or garage attachments that fall under their own roof plane.
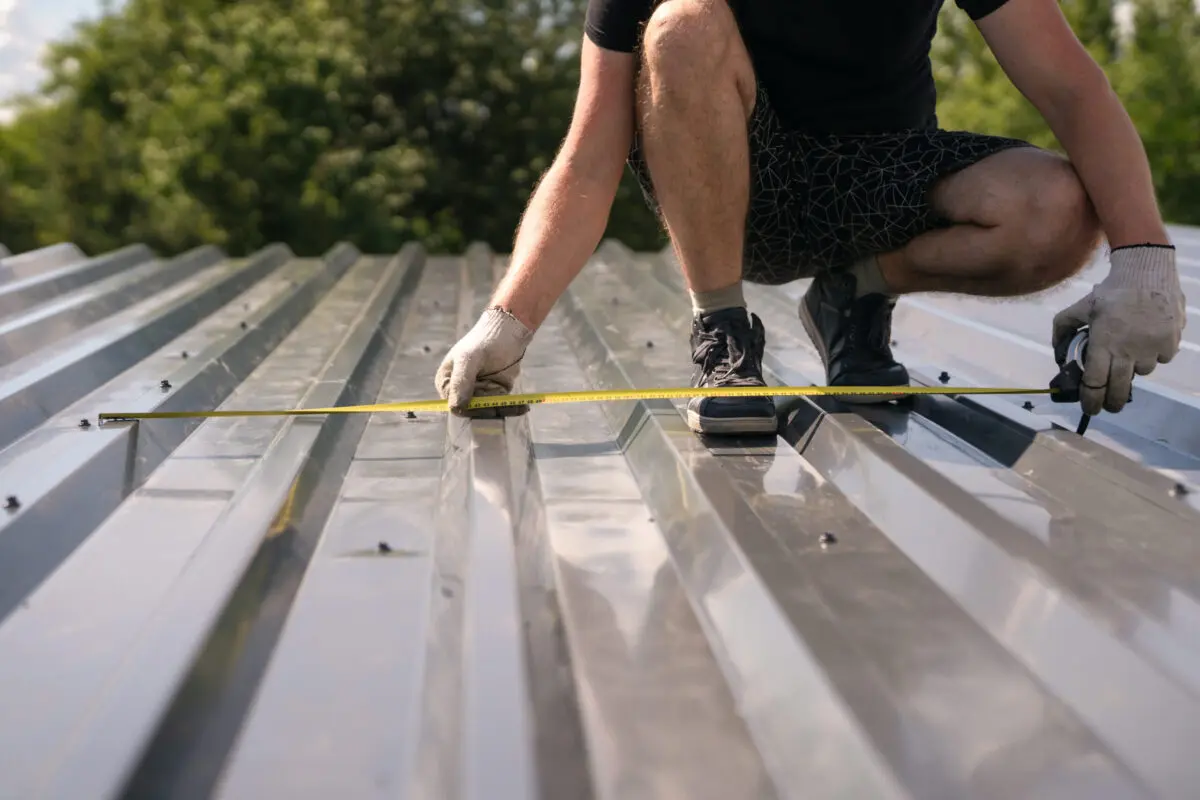
- Use a measuring tape along the base of the exterior walls, measuring from corner to corner for each side of the structure
- For homes with complex footprints, break the structure into rectangles and measure each one separately before adding them together
- Add the overhang distance to each measurement, since the roof surface extends beyond the wall on all sides and that additional area is part of the total material calculation
- Standard residential overhangs range from 12 to 24 inches, but verify the actual overhang on your specific structure rather than assuming
3. Calculate the Flat Square Footage of Each Roof Plane
With the ground-level footprint measurements in hand, calculate the flat square footage of each individual roof plane using basic geometry. For rectangular planes, multiply the length by the width. For triangular planes such as the ends of a gable roof, multiply the base by the height and divide by two.
- Sum the flat square footage of all individual planes to get the total flat roof area
- This number is not the final material quantity, because it does not account for the pitch of the roof surface
- Express the total in roofing squares, where one roofing square equals 100 square feet, to align with how metal roofing is typically ordered and priced
4. Determine the Roof Pitch and Apply the Pitch Multiplier
Roof pitch is the relationship between the vertical rise of the roof and the horizontal run, expressed as rise-over-run for every 12 inches of horizontal distance. A 6:12 pitch rises 6 inches for every 12 inches of horizontal run. Because a pitched roof surface is longer than its flat footprint suggests, a pitch multiplier must be applied to the flat square footage to arrive at the actual sloped surface area.
To measure pitch from the ground, hold a level horizontally against the rake edge of the roof and measure the vertical distance from the level to the roof surface at the 12-inch mark on the level.
Common pitch multipliers to apply to the flat square footage:
- 4:12 pitch: multiply by 1.054
- 5:12 pitch: multiply by 1.083
- 6:12 pitch: multiply by 1.118
- 7:12 pitch: multiply by 1.158
- 8:12 pitch: multiply by 1.202
- 9:12 pitch: multiply by 1.250
- 10:12 pitch: multiply by 1.302
- 12:12 pitch: multiply by 1.414
For a home in New Philadelphia, OH and surrounding areas with a flat footprint of 2,000 square feet and a 6:12 pitch, the actual sloped roof area would be approximately 2,236 square feet, or about 22.4 roofing squares. Skipping this step and ordering based on the flat footprint alone would produce a material shortfall of more than 200 square feet on that example alone.
5. Measure Each Roof Plane Directly From the Roof Surface

Ground-level measurements provide a solid starting estimate, but direct measurement from the roof surface produces the most accurate results, particularly on complex roofs with multiple planes, irregular dimensions, or significant pitch variations between sections.
From the roof surface, measure each plane from eave to ridge for the length and from rake edge to rake edge for the width. Record every measurement immediately on your sketch diagram rather than relying on memory.
- Measure from the drip edge at the eave to the ridge or hip rather than from the wall surface, to capture the full panel run length
- On hip roofs, measure each trapezoidal plane separately and calculate its area as the average of the parallel sides multiplied by the height
- Double-check measurements by measuring from two different starting points on each plane and confirming the numbers match
6. Account for Valleys, Hips, Ridges, and Penetrations
After the plane areas are calculated, the linear measurements for valleys, hips, ridges, and penetrations must be recorded separately because these areas require specific flashing and trim components that are ordered and priced independently of the field panels.
- Measure the length of each valley from top to bottom, since valley flashing is ordered by the linear foot
- Measure the total ridge length and all hip lengths for ridge cap and hip cap material calculations
- Measure the perimeter of each penetration, including chimneys, skylights, and pipe boots, to determine flashing requirements
- Rake edges and eave edges must also be measured in linear feet for drip edge and rake trim calculations
7. Add Waste Factor to the Final Material Total
No metal roofing project installs at exactly the calculated square footage without any cutting waste. The complexity of the roof determines how much overage to add to the final order.
- Simple gable roofs with minimal cuts: add 5 to 10 percent overage
- Moderately complex roofs with some hips, valleys, or dormers: add 10 to 15 percent overage
- Complex roofs with multiple planes, steep pitches, many penetrations, or irregular geometry: add 15 to 20 percent overage
Common Measurement Mistakes That Lead to Material Problems
Even homeowners who approach the measurement process carefully make specific errors that are worth knowing about before beginning. Each of these mistakes appears frequently enough that they are worth addressing explicitly.
Forgetting the overhang. The roof surface extends beyond the exterior wall on all sides, and that additional area is often 12 to 24 inches per side. On a home with a 40-foot by 30-foot footprint and a 12-inch overhang on all four sides, forgetting the overhang means missing approximately 144 square feet of roof surface before pitch is even applied.
Using only the flat footprint without applying a pitch multiplier. This is the most common and most expensive measurement mistake. A 6:12 pitch adds more than 11 percent to the flat area. A 9:12 pitch adds 25 percent. Ordering based on the flat footprint without applying the correct multiplier produces a guaranteed material shortfall on any roof with meaningful pitch.
Measuring only the largest planes and estimating the rest. On complex roofs with dormers, hip returns, or transitions between different roof sections, each individual plane must be measured and calculated separately. Estimating small planes by eye introduces errors that compound across multiple sections.
Ignoring trim and flashing linear footage. Field panel area is only part of the material order. Contractors who focus exclusively on square footage and forget to measure ridges, hips, valleys, rakes, and eave edges in linear feet consistently underorder trim components, which delays project completion just as reliably as underordering panels.
When to Rely on a Professional Measurement
This step-by-step process gives homeowners a solid foundation for understanding their roof’s dimensions and evaluating the estimates they receive from contractors. However, there are situations where professional measurement is the more practical and safer choice.
Complex Roof Geometry
Roofs with multiple intersecting planes, steep pitches above 9:12, irregular dormer configurations, or significant variations in plane orientation between sections are difficult to measure accurately without professional tools and experience. Errors on complex roofs are proportionally larger because there are more surfaces where mistakes can accumulate.
High-Pitch or Steep Roofs
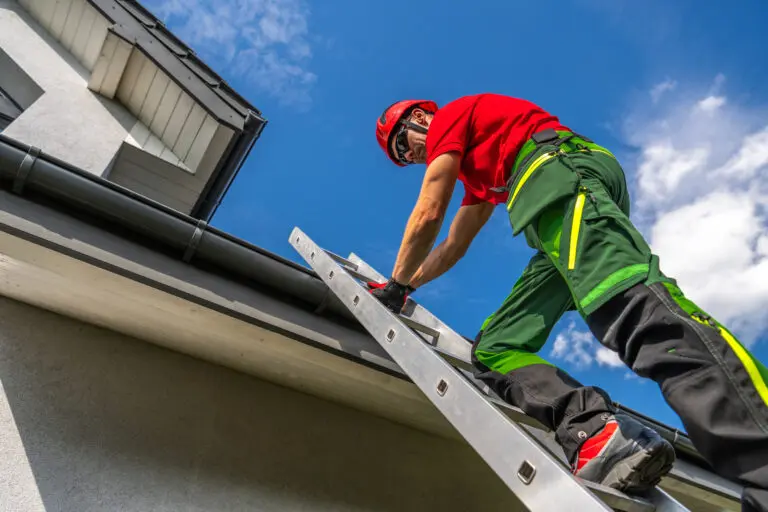
Any roof measurement that requires standing on a surface steeper than a 4:12 pitch carries genuine safety risk for an inexperienced person without proper fall protection equipment. In those situations, ground-level estimation combined with a professional on-roof verification is the right approach.
Pre-Purchase or Pre-Project Planning in New Philadelphia, OH
Homeowners in New Philadelphia, OH and surrounding areas who are planning a metal roofing project and want to enter contractor conversations with an accurate benchmark measurement can request a professional roof measurement from a qualified contractor before committing to any scope of work. Many reputable contractors provide this service as part of their estimate process, and the measurement report they produce is a useful document for comparing bids across multiple contractors.
When Material Orders Are Being Placed
If the measurement results are being used to place a direct material order rather than simply to benchmark a contractor estimate, professional verification before ordering is strongly recommended. The cost of a professional measurement is a small fraction of the cost of a material shortfall or an excess order on a metal roofing project.
Get the Measurements Right Before the First Panel Is Ordered
Accurate measurement is not where most homeowners think a roofing project begins, but it is where the difference between a smooth project and a frustrating one is often determined. Every material cost, every timeline estimate, and every installation plan downstream depends on numbers that are captured correctly at this stage.
At Keim Quality Roofing, we provide thorough, verified roof measurements as part of every metal roofing estimate we deliver to homeowners throughout New Philadelphia, OH and surrounding areas. We do not work from approximations or assumptions. We measure every plane, verify every pitch, and account for every linear foot of trim before a single panel is ordered. If you are planning a metal roofing project and want to start with measurements you can trust, contact us today and let Keim Quality Roofing give your project the foundation it deserves.