How to Install Architectural Shingles (Step-by-Step Guide)
Architectural shingles are the most popular roofing material in residential construction for good reason. They deliver a dimensional, layered appearance that standard three-tab shingles cannot match, along with significantly better wind resistance and a longer rated lifespan. Understanding how to install architectural shingles correctly is valuable whether you are a homeowner who wants to know what a proper installation looks like or a DIYer evaluating whether this project falls within your capabilities. Every step in the process matters, and if you have ever wondered how a professional roofing installation compares to a DIY attempt, the details in this guide will make that answer clear.
Here is what you will learn in this post:
- What architectural shingles are and how they differ from standard shingles
- Why correct installation technique directly affects performance and warranty coverage
- A step-by-step walkthrough of the full installation process
- The most common installation mistakes and how to avoid them
- What tools and materials are needed before work begins
- When professional installation is the smarter choice over DIY
What Makes Architectural Shingle Installation Different From Standard Shingles
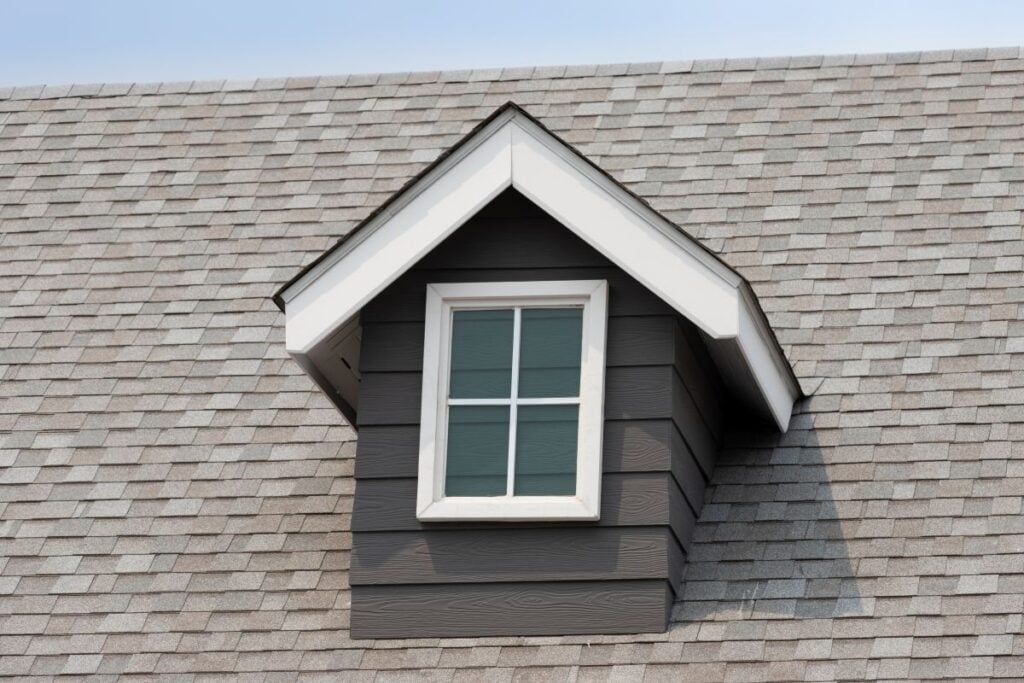
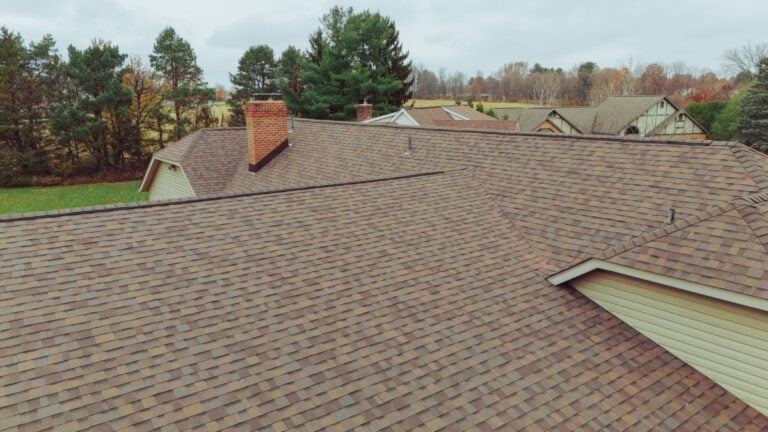
Architectural shingles, also called dimensional or laminate shingles, are constructed from two layers of asphalt-saturated fiberglass mat bonded together, with a heavier granule coating on the top layer that creates the three-dimensional shadow line effect. That layered construction is what gives them their performance advantages, but it also means that installation technique matters more than it does with single-layer three-tab shingles.
The weight, stiffness, and dimensional profile of architectural shingles affect nailing placement, exposure alignment, and how each course relates to the one below it. Installation errors that might be tolerable on a three-tab roof, such as slightly off-center nailing or minor exposure inconsistency, become more consequential on architectural shingles because the heavier material puts more stress on each fastener and the dimensional profile makes alignment issues more visible from the street. For homeowners in Strasburg, OH and surrounding areas planning a roof replacement, understanding what correct installation involves helps you evaluate the quality of the work being done on your home. Here is why this knowledge matters:
- Warranty compliance requires specific installation techniques: Most architectural shingle manufacturers specify nailing patterns, fastener type, exposure width, and underlayment requirements as conditions of their warranty. Deviations from these specifications can void coverage regardless of how long the shingles have been on the roof.
- Wind resistance depends on proper nailing: The wind resistance ratings published by shingle manufacturers assume that fasteners are driven in the correct nailing zone with the correct penetration depth. Nails placed too high, too low, or at the wrong angle significantly reduce the shingle’s ability to resist uplift in high-wind events.
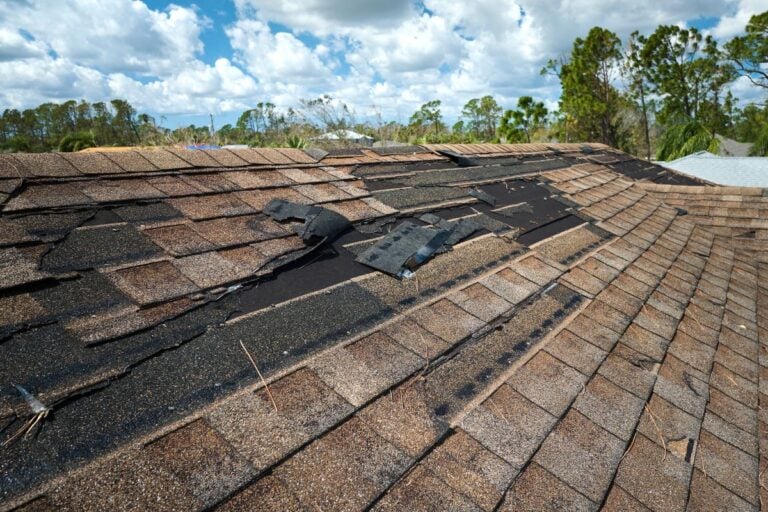
- Improper installation creates leak pathways: Each step in the installation sequence, from underlayment to starter strips to field shingles to flashing, is designed to work as a system. Skipping or shortcutting any element creates pathways for water infiltration that may not appear immediately but will develop over time.
- The learning curve is steeper than it looks: Experienced installers develop efficient, consistent technique through repetition that simply cannot be replicated on a first attempt. Errors in alignment, nailing, and cutting that seem minor in isolation compound across hundreds of shingles installed over an entire roof.
- Safety risk is real and significant: Roofwork involves working at height on a sloped surface with tools and heavy materials. Falls are the leading cause of fatalities in residential construction, and the risk is substantially higher for inexperienced workers without proper fall protection equipment.
9-Step Guide to Installing Architectural Shingles Correctly
This step-by-step process covers a complete architectural shingle installation from deck preparation through ridge cap. Each step reflects current best practice and the installation requirements common to major shingle manufacturers.
1. Inspect and Prepare the Roof Deck
Before any roofing material touches the roof, the deck must be inspected thoroughly and any deficiencies corrected. A sound, flat, properly fastened deck is the foundation that everything above it depends on.
- Walk the entire deck carefully and identify any soft, spongy, or visibly damaged sections of sheathing that need to be replaced before installation begins
- Check that all existing sheathing is properly fastened to the rafters with no popped nails, loose panels, or gaps larger than 1/8 inch between sheets
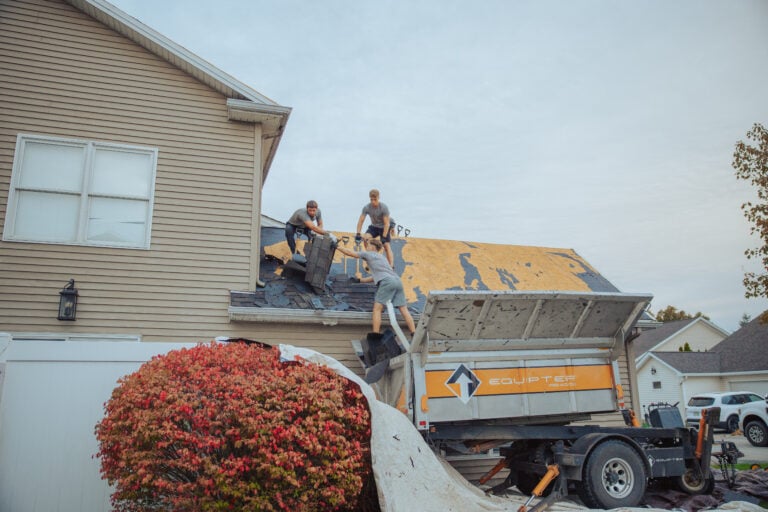
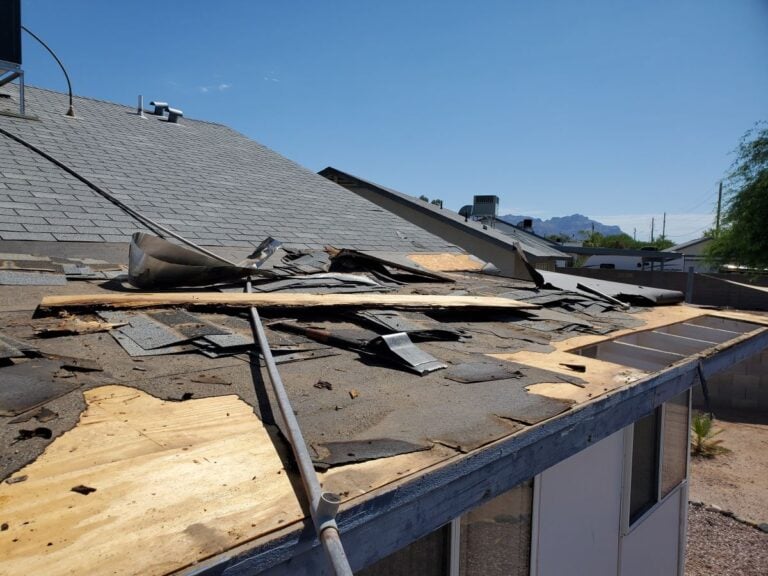
- Remove any existing roofing material down to bare sheathing; architectural shingles should not be installed over existing shingles in most cases, as the added weight and uneven surface compromise both performance and warranty compliance
- Sweep the deck clean of debris, old fasteners, and roofing material remnants before installing any new components
2. Install Drip Edge at the Eaves
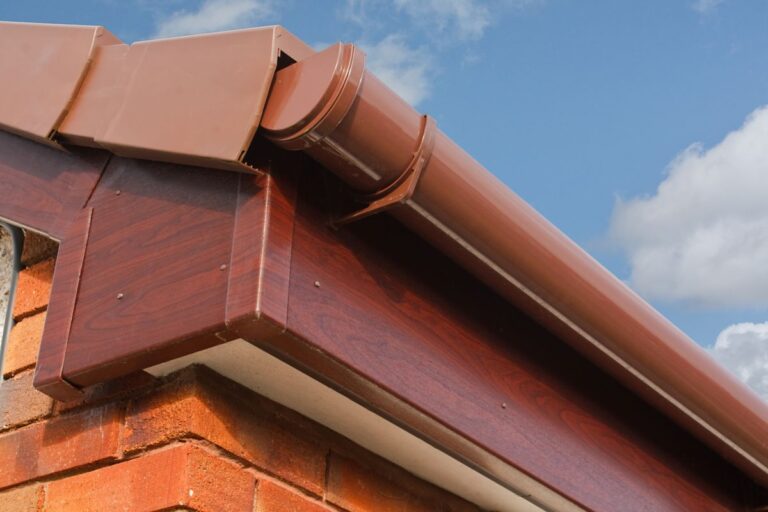
Drip edge is a metal flashing component installed along the eave and rake edges of the roof to direct water away from the fascia and into the gutter. Installation sequence matters: eave drip edge goes on before underlayment, while rake drip edge goes on after.
- Eave drip edge is installed first, running along the bottom edge of the roof with the flange overlapping into the gutter
- Pieces overlap by at least two inches at joints and are fastened with roofing nails spaced approximately 12 inches apart
- The drip edge should extend at least a quarter inch beyond the fascia board to direct water cleanly into the gutter channel rather than allowing it to run back along the fascia
3. Install Underlayment Across the Full Deck
Underlayment is the secondary water barrier that protects the roof deck if water infiltrates the shingle layer above it. The type of underlayment required varies by slope, climate, and manufacturer specification.
- In regions like Strasburg, OH and surrounding areas where ice damming is a seasonal concern, a self-adhering ice and water barrier is required at the eaves, typically extending from the eave edge up the roof a minimum of 24 inches past the interior wall line
- Standard synthetic underlayment or number 30 felt is installed over the remainder of the deck after the ice and water barrier, lapping each course over the one below by a minimum of four inches
- Underlayment is installed horizontally from eave to ridge, with each course lapping over the one below to ensure water runs over rather than under the joints
- All underlayment seams and laps should run parallel to the eave, never perpendicular, to prevent water from channeling along a seam toward the deck
4. Install Rake Drip Edge Over the Underlayment
After underlayment is in place, rake drip edge is installed along both sloped edges of the roof, overlapping the top of the underlayment at the rake. This sequence ensures that any water that reaches the rake edge runs over the underlayment rather than under it.
- Rake drip edge pieces are lapped a minimum of two inches at joints, with the upper piece overlapping the lower
- Fastening follows the same 12-inch spacing pattern as the eave drip edge
- Rake drip edge should be installed before any field shingles are placed, as it defines the edge alignment that the starter strip and first course of shingles will reference
5. Install Starter Strip at the Eaves and Rakes
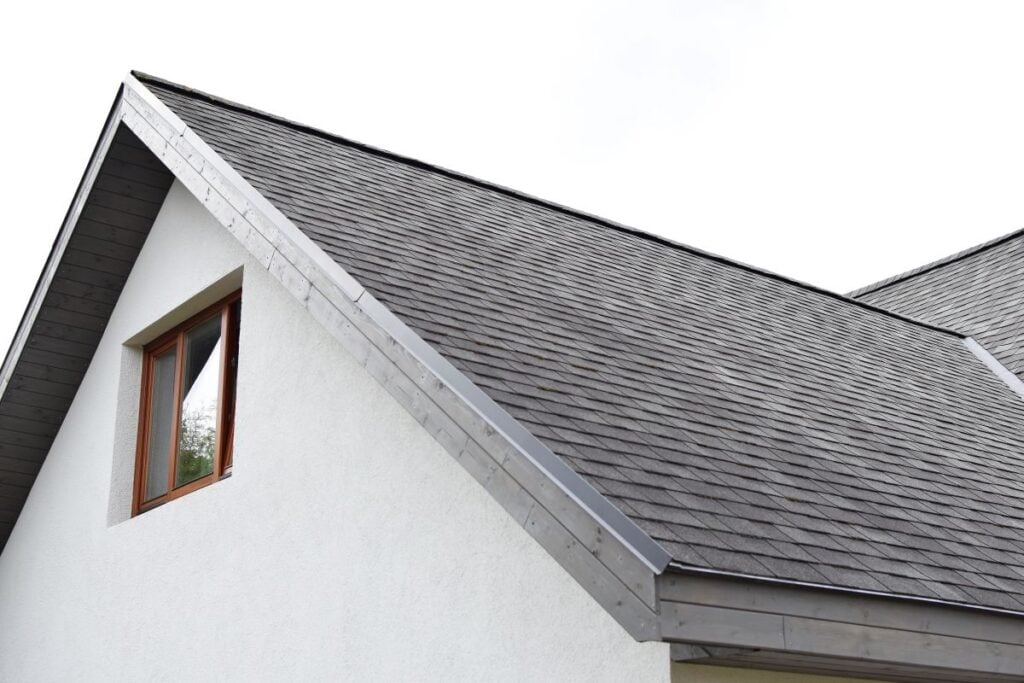
The starter strip is a specially designed or field-cut piece of roofing material installed along the eave and rake edges before the first course of field shingles. Its purpose is to provide a solid, adhesive-backed base that seals the bottom edge of the first shingle course and prevents wind-driven rain from infiltrating beneath the tab edges.
- Purpose-made starter strips with factory-applied adhesive are preferable to field-cut shingles because they ensure consistent adhesive placement along the full eave length
- The starter strip is installed with its adhesive strip facing down toward the eave, positioned so that the adhesive aligns directly with the cutouts in the first course of field shingles above
- Rake starter strips are installed along both sloped edges to provide the same sealed edge condition vertically up the roof
6. Snap Chalk Lines for Course Alignment
Consistent shingle exposure is critical for both appearance and performance, and chalk lines provide the reference grid that keeps each course running straight across the full width of the roof. Architectural shingles are typically installed at a five-inch exposure, though manufacturer specifications vary and should be confirmed before snapping lines.
- Snap a horizontal chalk line across the full width of the roof at the height of the first course exposure, measured up from the eave edge of the starter strip
- Continue snapping lines at consistent intervals up the full height of the roof plane
- Snap vertical chalk lines at regular horizontal intervals to maintain consistent offset between courses and to guide the racking or diagonal installation pattern
7. Install Field Shingles From Eave to Ridge
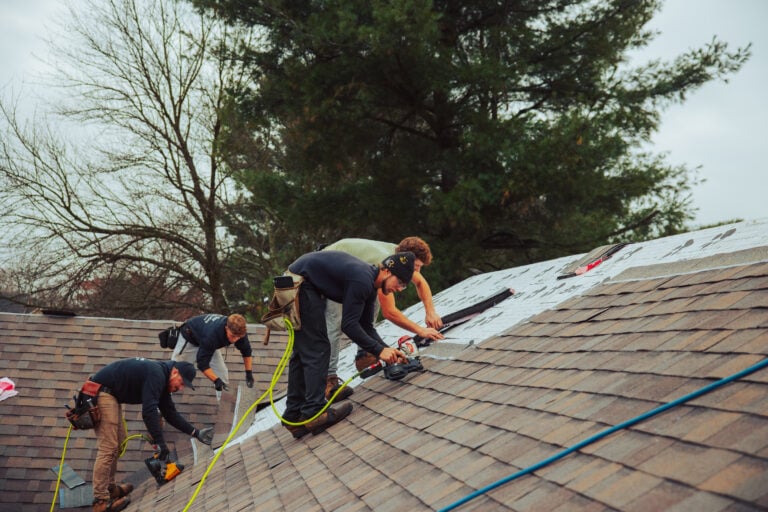
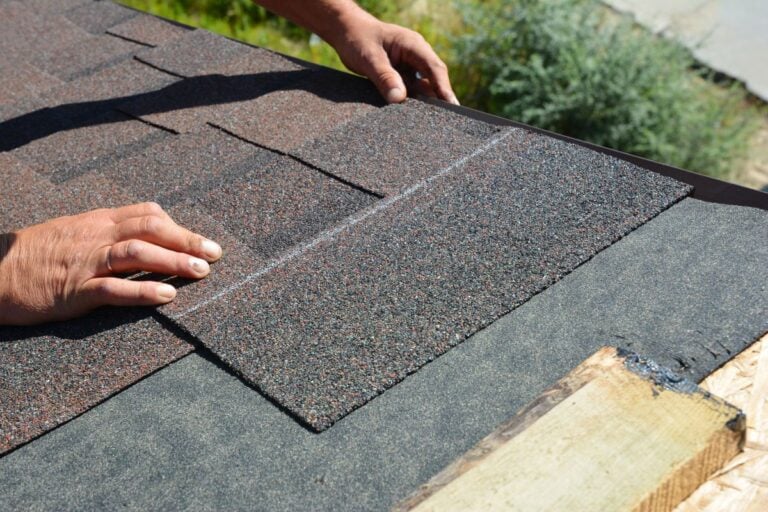
With the deck prepared, underlayment installed, and chalk lines snapped, field shingle installation begins at the lower left corner of the roof and works upward toward the ridge. The offset pattern between courses is what creates the dimensional visual effect that distinguishes architectural shingles from three-tab.
- Begin each new course with a shingle that is offset from the course below by at least six inches, following the manufacturer’s specified offset pattern
- Nail each shingle in the manufacturer’s designated nailing zone, typically a strip approximately one inch above the top of the cutouts and running the full width of the shingle
- Drive four nails per shingle minimum for standard wind resistance ratings; six nails per shingle for enhanced wind resistance in high-wind regions
- Nails should be driven flush with the shingle surface, not overdriven into the mat or underdriven with the head raised above the surface
8. Install Flashing at All Penetrations and Transitions
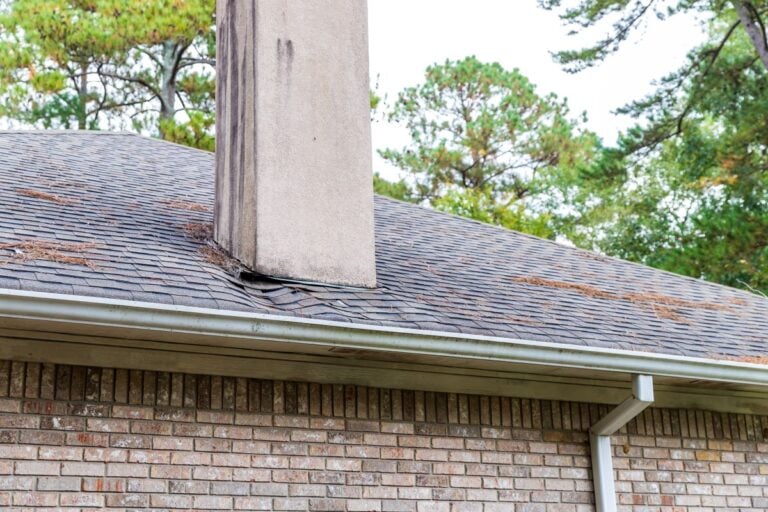
Flashing is installed at every point where the roof plane intersects a vertical surface or where two planes meet. This includes chimneys, dormers, skylights, pipe penetrations, walls, and valleys. Flashing is the component most frequently responsible for roof leaks when installed incorrectly, and it deserves as much attention as the field shingles above it.
- Step flashing is used at wall and chimney intersections, with individual metal pieces woven between each shingle course
- Valley flashing directs water from the intersection of two roof planes down to the eave, either as an open metal valley or a closed woven valley depending on the design preference and manufacturer specification
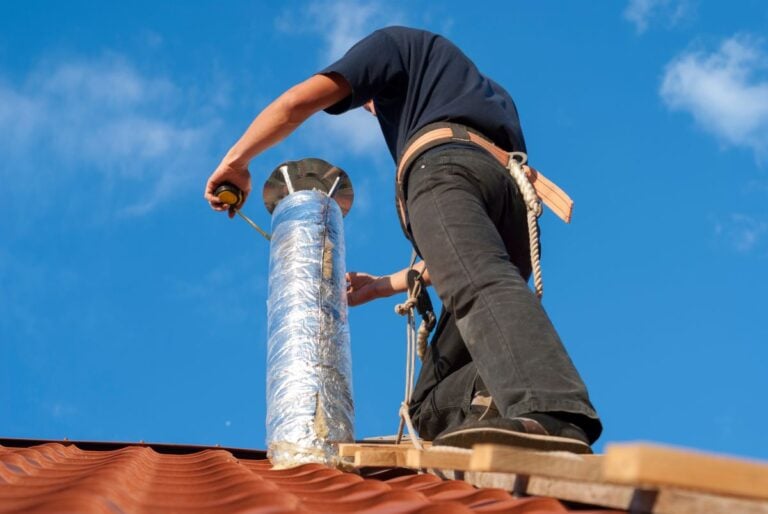
- Pipe boot flashings seal around plumbing vents and should be slid under the shingles above and over the shingles below to direct water away from the penetration
9. Install Ridge Cap Shingles
Ridge cap shingles finish the peak of the roof and seal the uppermost edge where two planes meet. Purpose-made ridge cap shingles are preferred over field-cut architectural shingles because they are designed specifically for the bend radius required at the ridge and carry their own wind and weather resistance ratings.
- Install ridge cap shingles from both ends of the ridge toward the center, with each cap lapping over the previous to direct water downslope on both sides
- Drive two nails per cap shingle in the manufacturer’s specified locations, typically near the top of the exposure so the nail heads are covered by the next cap
- At the center point where the two installation directions meet, a final cap shingle is cut and fastened to complete the ridge
Common Architectural Shingle Installation Mistakes to Avoid
Even experienced installers occasionally make errors that reduce shingle performance or void warranty coverage. These are the mistakes that appear most frequently and have the most significant consequences.
- High nailing: Placing nails above the designated nailing zone means the nail is driven through only one layer of the laminated shingle rather than both, dramatically reducing holding strength and creating a stress point that can lead to shingle blowoff in wind events.
- Overdriven nails: A nail driven too deep cuts through the shingle mat rather than holding it, compromising both fastener strength and the shingle’s water resistance at that location.
- Incorrect exposure: Installing shingles at a greater-than-specified exposure reduces the overlap between courses and shortens the effective waterproofing coverage across each course transition.
- Skipping starter strips: Without a proper starter strip, the bottom edge of the first shingle course has no adhesive backing and no solid material behind the cutouts, creating immediate vulnerability to wind uplift and water infiltration.
- Improper flashing sequence: Installing flashing over shingles rather than weaving it with them, or reversing the lap direction so that water flows under rather than over the flashing pieces, is one of the most common causes of leak callbacks after a new installation.
When Professional Installation Is the Right Call
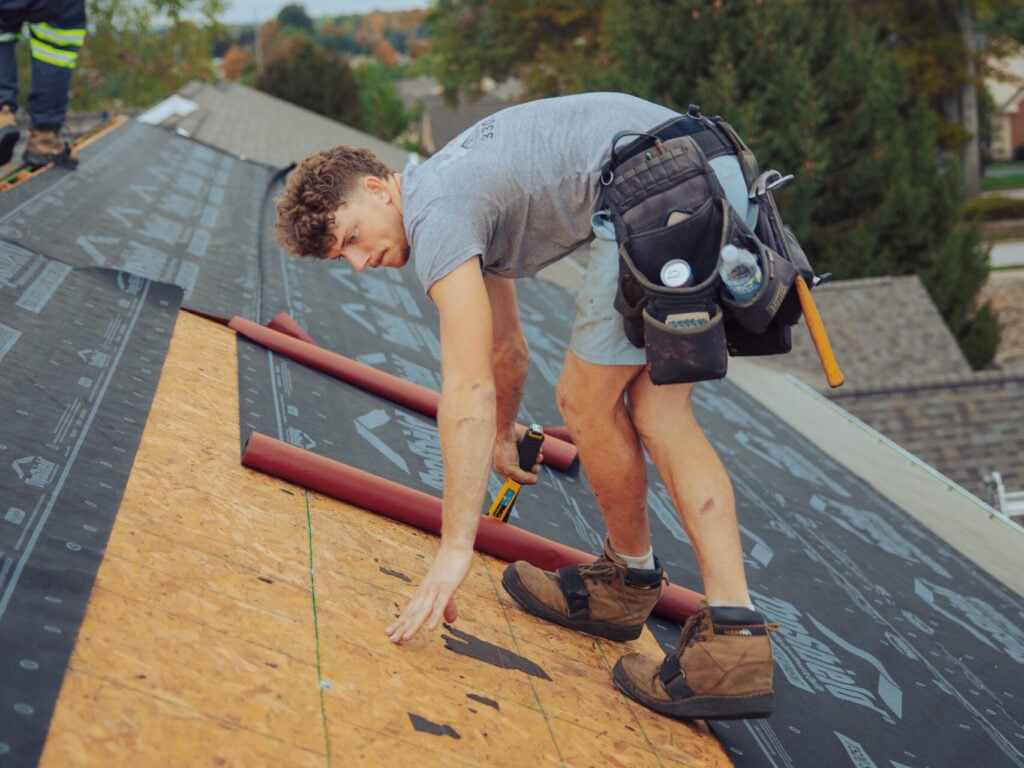
There is a meaningful difference between understanding how architectural shingles are installed and being able to execute that installation correctly, safely, and in compliance with manufacturer specifications on a real roof with real weather exposure. Several situations make professional installation clearly the smarter choice.
Roof Complexity and Size
A straightforward gable roof with minimal penetrations on a single-story home is the most approachable DIY scenario. Roofs with multiple planes, dormers, chimneys, skylights, steep pitches, or large total areas introduce compounding complexity that increases both the difficulty of correct execution and the consequences of errors.
Warranty Coverage Requirements
Most architectural shingle manufacturers require installation by a licensed roofing contractor as a condition of their full warranty coverage. Homeowners who install their own shingles and later experience a performance problem covered under the warranty may find that the DIY installation invalidates their claim. In Strasburg, OH and surrounding areas, where hail and wind events regularly test roofing systems, maintaining full warranty coverage is a meaningful financial protection worth preserving.
Safety and Fall Risk
Working on a roof carries inherent fall risk that increases significantly with pitch, roof height, and the presence of heavy materials and tools. Professional roofing contractors use fall protection systems, proper footwear, and established safety protocols that meaningfully reduce this risk. Homeowners who do not have experience working at height or access to proper safety equipment should treat professional installation as a non-negotiable.
Time and Quality of Outcome
A professional roofing crew can complete a full roof installation in a fraction of the time it takes an inexperienced homeowner working alone or with helpers. The quality of the outcome, both in terms of appearance and long-term performance, reflects the difference in repetition, technique, and equipment that separates a professional installation from a first attempt.
Ready for a Shingle Installation Done Right the First Time?
Understanding how to install architectural shingles correctly gives homeowners a much clearer picture of what quality roofing work looks like and what separates a job done right from one that will cause problems down the road. Whether you are planning a DIY project on a manageable structure or evaluating a contractor’s proposal for your home, that knowledge makes you a more informed decision-maker at every step.
At Keim Quality Roofing, we install architectural shingles for homeowners throughout Strasburg, OH and surrounding areas with the same attention to deck preparation, underlayment, flashing, and nailing technique that manufacturer warranties and long-term performance require. We do not cut corners on the steps that are easy to overlook, because those are exactly the steps that determine whether a roof performs well for 30 years or starts causing problems within five. If you are ready to get your roof done right, contact us today and let Keim Quality Roofing put their experience to work on your home.